
Hello all, let’s learn how to Read a button with Raspberry Pi Pico using microPython. In past articles we had a LED blink, which used an output. Now we will use an input of the Pi Pico.
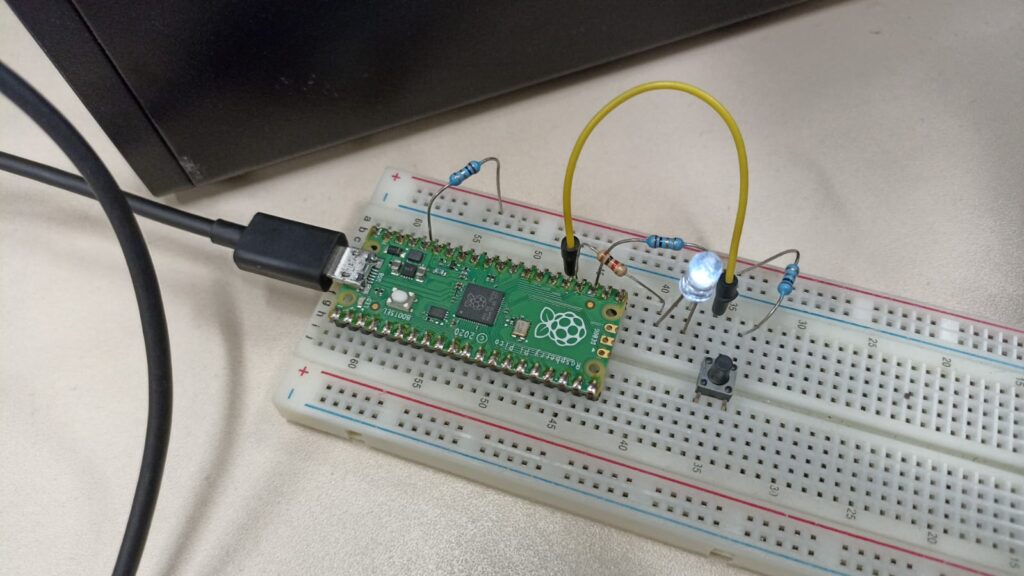
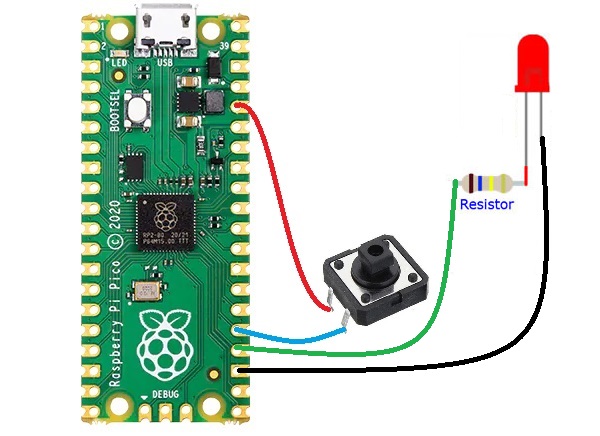
The schematic diagram for this experiment is simple, we will use a single push button, one resistor and a LED. This is thanks to the pull up and pull down resistors present inside the Pi Pico, which can be activated by code.
My code was heavily inspired byt this blog post. I am using the Thonny IDE to program the Pi Pico.
from machine import Pin
import time

led = machine.Pin(18, machine.Pin.OUT)
onboard = machine.Pin(25, machine.Pin.OUT)
button = Pin(19, Pin.IN, Pin.PULL_DOWN)

led.off()
onboard.off()

while True:

         if(button.value()):
             onboard.on()
             led.off()
         else:
             onboard.off()
             led.on()
Explaining the code and showing results
Outside the “while True:” I turn both LEDs (the onboard and the external) off first. Inside the loop I do an if() to verify wether the button state is True (logic high). Then I proceed to tun LEDs .on() and .off() in an alternating way, accordingly to the button pressing. See the video below.
Notice I connect the push button directly to the pin 19, no resistor required. This is because I defined an internal pull-down at:
button = Pin(19, Pin.IN, Pin.PULL_DOWN)Of course you could do all sorts of configurations here, button with internal or external pull-down and with internal or external pull-up. It would come up to the code to process all this hardware diferences.
That’s all for now, I hope you enjoyed it as much as i did. See you next time. Ah hey, want to read this blog in Portuguese? click here.
Pingback: External and timer interrupts with microPython - FritzenLab electronics