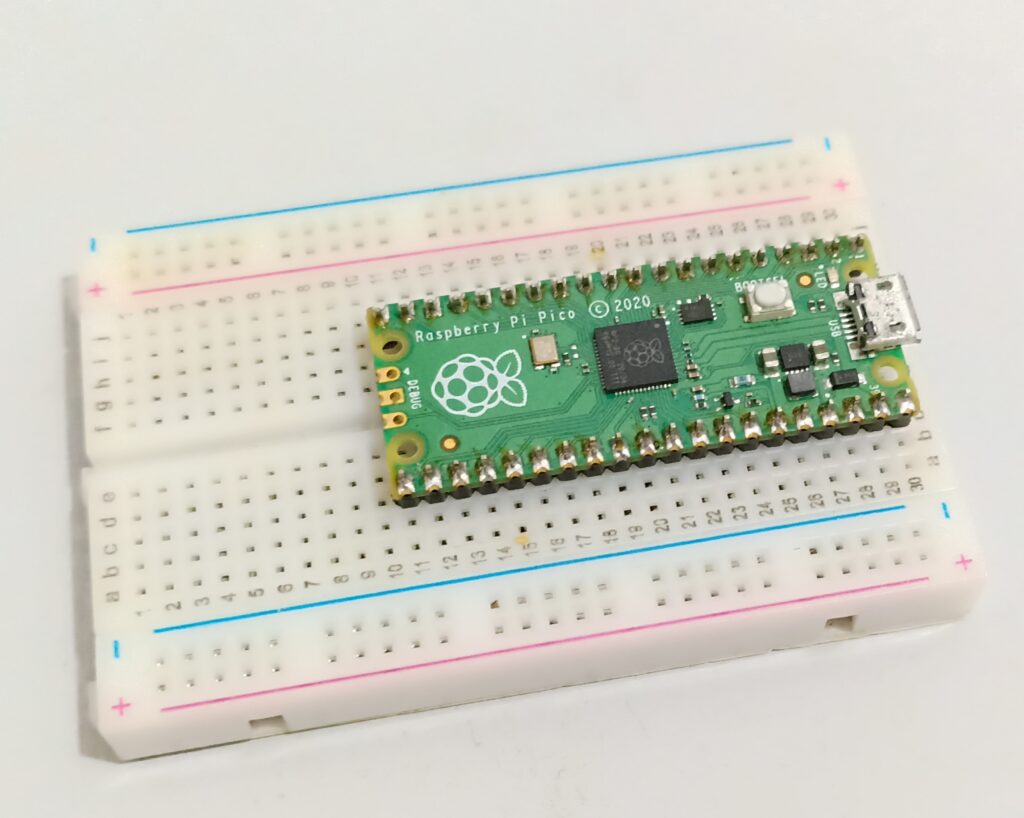
Let’s learn how to program the Raspberry Pi Pico with Arduino IDE, following the tutorial available at this link. The main way to program it is through microPython, as I show here and here. Today we’re going to see how easy it is to use the Arduino IDE.
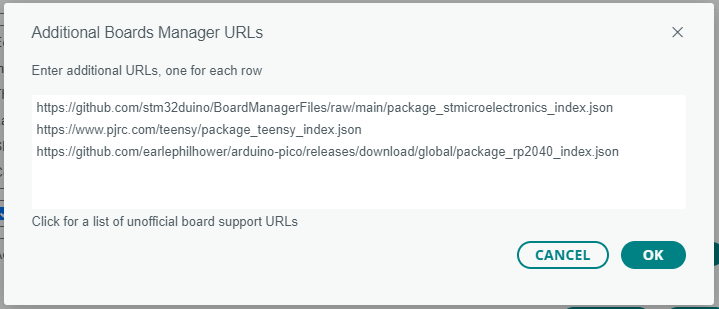
First let’s configure the Arduino IDE with the link to the code for this board. To do this, go to “File > Preferences > Additional boards manager URLs” and type:
https://github.com/earlephilhower/arduino-pico/releases/download/global/package_rp2040_index.jsonMore or less like the image below (where I already have the STM32 and Tennsy configured):
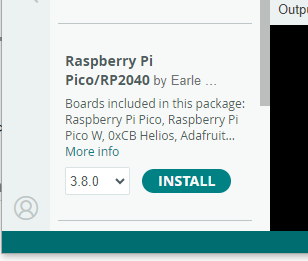
Now go to “Tools > Board > Boards manager” and type “pico”. Select the option “Raspberry Pi Pico/RP2040 by Earle”, click “install”.
Finally go to “Tools > Board” and select your board (in my case, “Raspberry Pi Pico”). Open the sketch/program “File > Examples> 02.Digital > BlinkWithoutDelay”. In the case of the Pi pico, the onboard LED is on pin 25, see below that I changed it.
// constants won't change. Used here to set a pin number:
const int ledPin = 25;  // the number of the LED pin

// Variables will change:
int ledState = LOW;  // ledState used to set the LED

// Generally, you should use "unsigned long" for variables that hold time
// The value will quickly become too large for an int to store
unsigned long previousMillis = 0;  // will store last time LED was updated

// constants won't change:
const long interval = 1000;  // interval at which to blink (milliseconds)

void setup() {
  // set the digital pin as output:
  pinMode(ledPin, OUTPUT);
}

void loop() {
  // here is where you'd put code that needs to be running all the time.

  // check to see if it's time to blink the LED; that is, if the difference
  // between the current time and last time you blinked the LED is bigger than
  // the interval at which you want to blink the LED.
  unsigned long currentMillis = millis();

  if (currentMillis - previousMillis >= interval) {
    // save the last time you blinked the LED
    previousMillis = currentMillis;

    // if the LED is off turn it on and vice-versa:
    if (ledState == LOW) {
      ledState = HIGH;
    } else {
      ledState = LOW;
    }

    // set the LED with the ledState of the variable:
    digitalWrite(ledPin, ledState);
  }
}
To flash the Pi Pico, disconnect it from USB, press and hold the BOOTSEL button on the board and plug it back into USB. Then go to “Tools > Port” and select “UF2 board”. Click the upload code button. See the LED blinking.
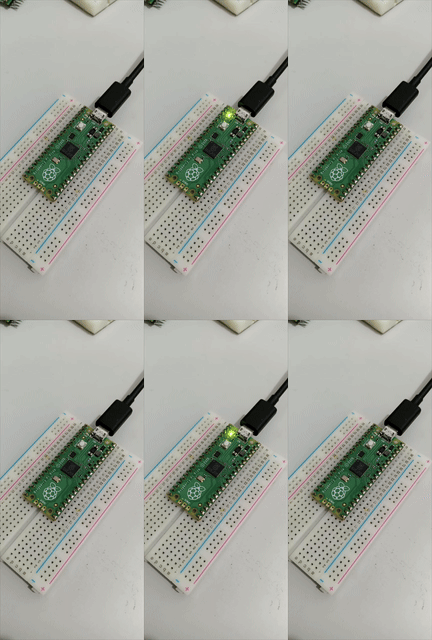
From the second time you want to record code, simply select the correct COM port and click “upload”. In the near future we will have more Pi Pico tutorials with the Arduino IDE, using sensors and actuators.


Leave a Reply