Electronics
-
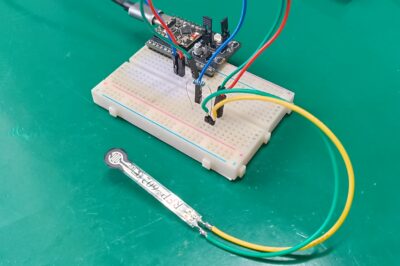
Force sensitive resistor (FSR) with ESP32
Let’s connect and learn how to use a force sensitive resistor (FSR) with ESP32, using an analog input and Arduino code
-
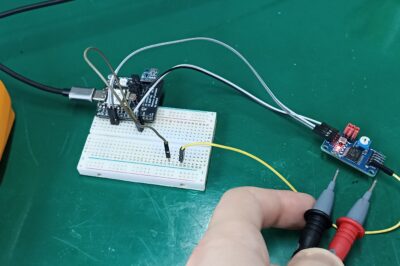
Create analog voltage with PCF8591
I will teach you how to create analog voltage with PCF8591 and ESP32 in the Arduino IDE. Voltage between 0 and 3.30V from the serial monitor
-
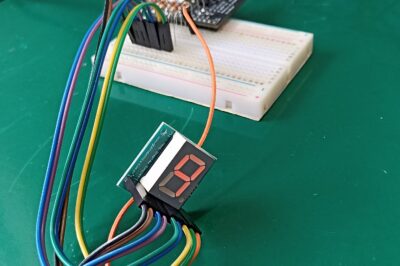
7 segment LED display and ESP32-C6 – common anode
Learn how to control a 7 segment LED display and ESP32-C6, to show numbers and letters. We will use a function to control it
-
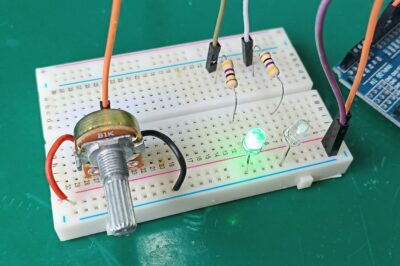
Using two LEDs as Human-machine interface
Today I will show you something very uncommon, using two LEDs as Human-machine interface. We will show an integer blinking LEDs
-
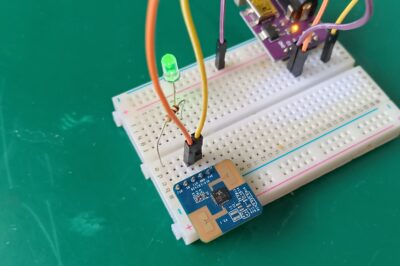
Hilink ultrasonic presence sensor
Let’s dive in and figure out how to use a Hilink ultrasonic presence sensor, all you need is an LED and a resistor
-
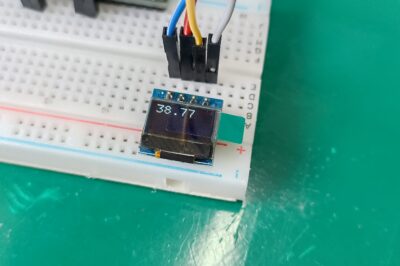
Tiny 0.49″ OLED display
Today we will learn how to control and use the Tiny 0.49″ OLED display from Aliexpress, a real tiny interface device
-
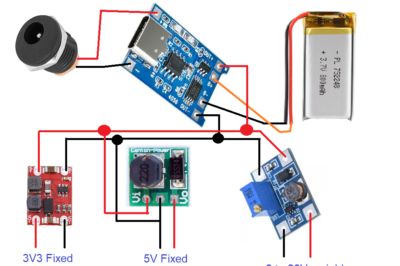
Power Arduino and ESP32 from batteries
Let’s dive in and learn how to power Arduino and ESP32 with batteries, using a few Aliexpress modules on the way. All safe and sound.
-
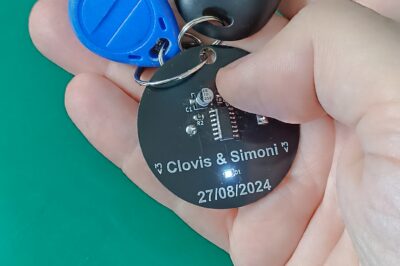
Blinking commemorative keychain
Let me show you how I made a blinking commemorative keychain, made of PCB and a simple oscillator circuit (3 components)
-
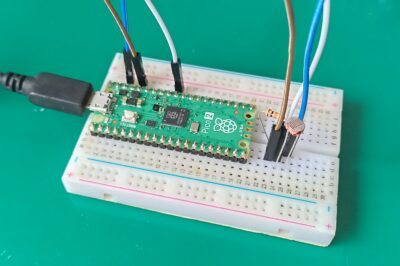
Using a LDR light level sensor
Let’s get using a LDR light level sensor to sense the amount of light in the environment around. I am using a Raspberry Pi Pico 2
-
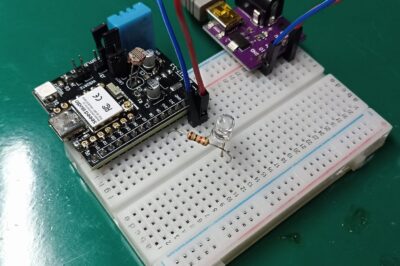
What is PWM and how to use it?
Let’s dive into the content and get to know what is PWM and how to use it, using a ESP32-C6 as the controller to study it
-
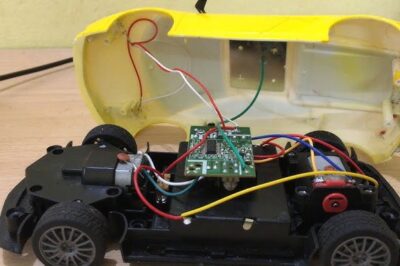
Remote control RC car project – the beginning
I am just starting a Remote control RC car project, a complete radio controlled controller + control board from scratch, come with me
-
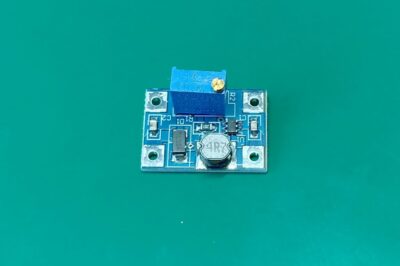
SDB628 boost circuit board
Do you know the SDB628 boost circuit board? it is a neat little board that takes 2-24V and outputs up to 28V at 4A (theoretically)
-
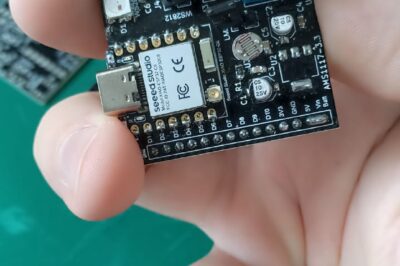
ESP32-C6 dev board – PCBWay partnership
Let’s me show you the ESP32-C6 dev board – PCBWay partnership. They sent me 5 copies of this neat little board to test out
-
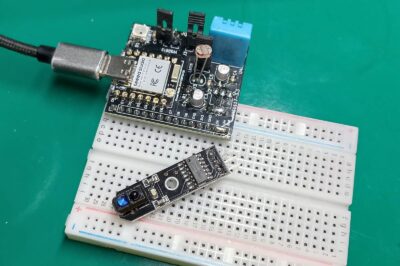
HW-006 optical line tracker sensor
The HW-006 optical line tracker sensor is an optical assembly used to track lines, mainly for small competition vehicles
-
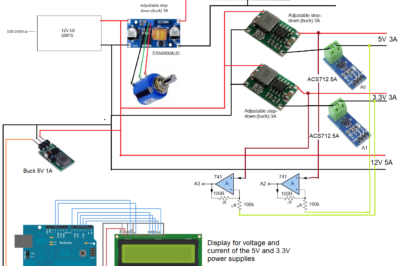
DIY 3A/5A bench power supply
I made a bench power supply featuring variable voltage (4.5-12V at 5A), fixed 3.3V and 5V at 3A each. All of it using cheap modules.
-
Soldering pin headers – quick video
Just a quick video of myself soldering pin headers on the Sipeed Tang Nano 4k FPGA board, by means of a soldering iron and a breadboard
-
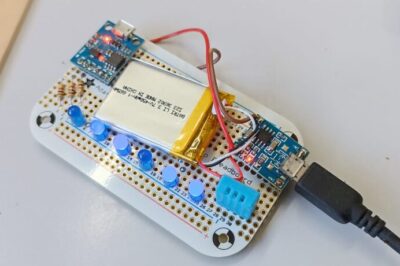
TP4056 battery charger chip
I am going to investingate how the TP4056 battery charger chip works, by explaining its workins to you, and how to apply it in your projects
-
NTC thermistor temperature sensor Arduino
We will learn how to use the NTC thermistor temperature sensor with Arduino, reading it on an analog input
-
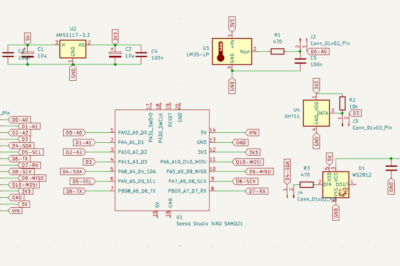
Develop a circuit board – ESP32-C6 update 2
Update on how to develop a circuit board with ESP32-C6, using Kicad and featuring sensors link DHT11 and LM35, also a LED RGB WS2812
-
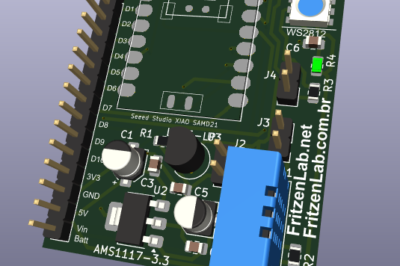
Develop a circuit board – ESP32-C6 update 1
Let’s give a update on developing a circuit board – ESP32-C6 WiFi. It may feature sensors (DHT11 and LM35) and a WS2812 LED

