VEML6040 RGB light sensor is an i2c sensor capable of detecting colors, light level in lux and CCT. Correlated color temperature (CCT) measures how “white”/”warm”/etc some detected environment light is. It is useful for monitor/tv color correction, film/movies color adjustment and other things.
This sensor is easily obtainable in Aliexpress via my affiliate link. It is cheap and rather precise (as we will see throughout the article). According to its official datasheet, it detects red at 650nm peak, green at 550nm peak and blue at 450nm peak, in 16 bit (0-65535). Light level is directly detected in Lux (up to 16496 using 40ms processing time, 0.007865 using 1280ms).
ChatGPT helped me with a table illustrating the light levels obtainable by the sensor. At my bench right now I am getting ~5500k. RGB levels at my bench right now (in a scale 0-65535) are 743, 989 and 493.
| Light Source | Typical CCT (K) |
|---|---|
| Candlelight | ~1900 K |
| Incandescent bulb | ~2700–3000 K |
| Halogen | ~3200 K |
| Daylight (noon) | ~5500–6500 K |
| Cloudy sky | ~7000–8000 K |
| Blue sky | ~9000–10000 K |
One could apply this sensor in projects that need color detection, like a parts separator/discriminator. Or even in indoor-ish weather stations where you need to know the light level in order to detect day/night/midday/etc. Since this is a cheap and easy to use sensor, creativity is your best friend while applying VEML6040.
Hardware
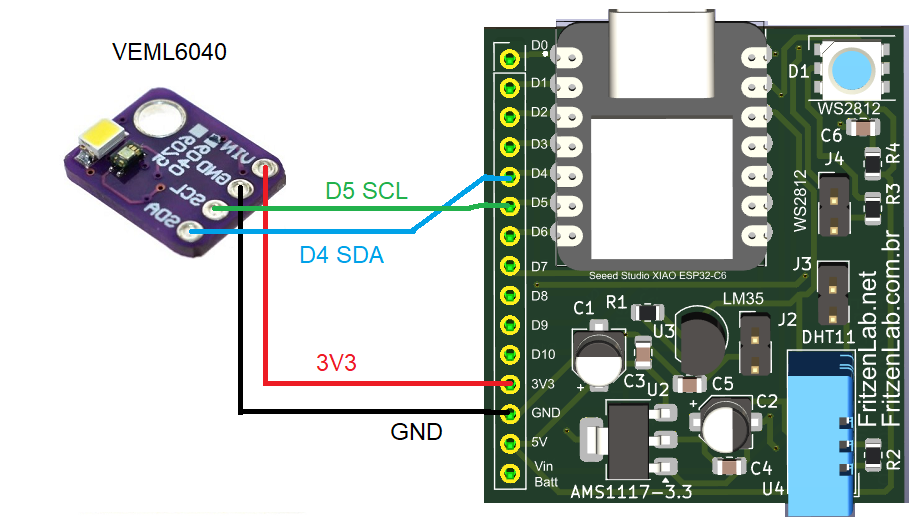
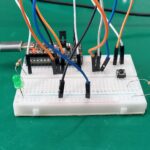
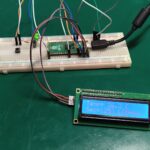
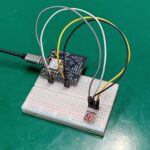
VEML6040 is a simple sensor to connect and work with. All you need are four wires/pins: SDA and SCL (i2c), 3V3 and GND. You can get those 3.3V from the Xiao ESP32-C3 microcontroller itself. The circuit board I made for mine already exposes those 3.3V for you, in a sigle row/line of pins, breadboardable (see image below). More information about that circuit board is here.
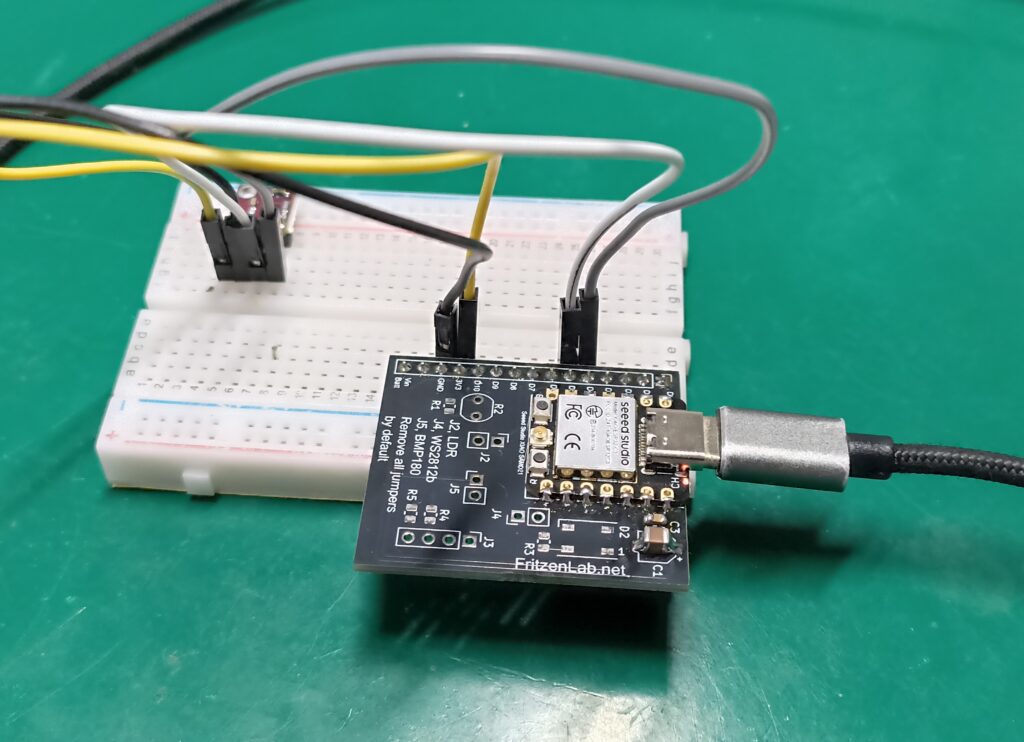
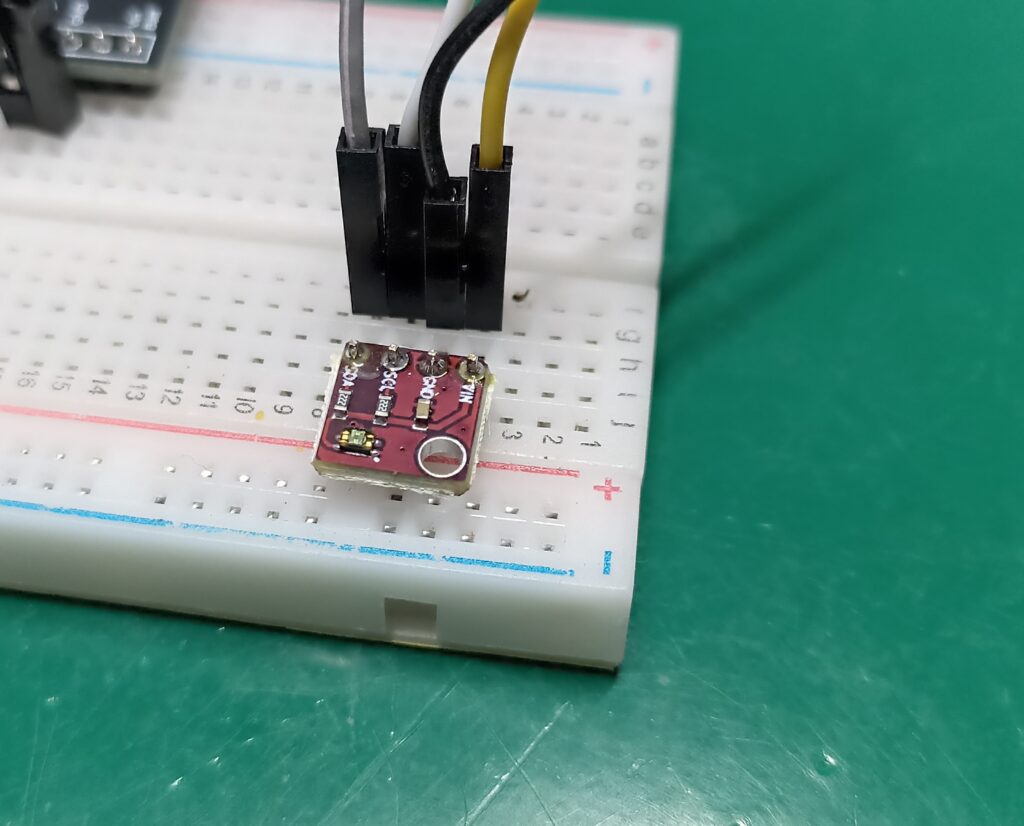
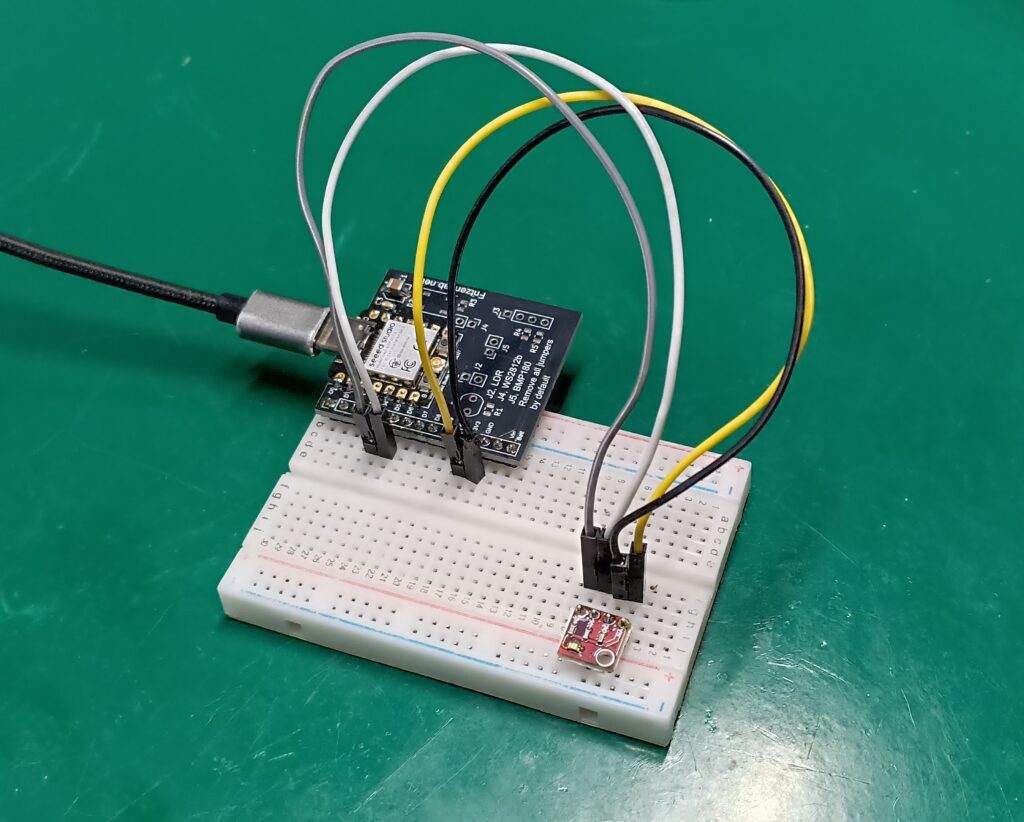
The sensor itself is breadboardable, meaning you can do what I did below, using jumper wires to make the connections. I2c is very fast (400kHz) but also forgiving, so go ahead and breadboard this sensor. I drew a complete schematic diagram for this experiment, see below along with a picture of the assembly.
Firmware/code
I will be programming this example in Arduino language, using Arduino IDE (I have the 2.3.5 nightly version installed). First thing you have to do is get the right library from the Arduino IDE’s library manager. To do that go to “Sketch > Include library > Manage libraries” and type “VEML6040”. Get the one from “thewknd” and click “install”.
Now we will open an example that comes with the library, that is all we need for today’s post. To do that go to “File > Examples > VEML6040 > automode”. Code below will show in your screen, as complete and self-sufficient as it is.
#include "Wire.h"
#include "veml6040.h"
VEML6040 RGBWSensor;
void setup() {
Serial.begin(9600);
Wire.begin();
if(!RGBWSensor.begin()) {
Serial.println("ERROR: couldn't detect the sensor");
while(1){}
}
/*
* init RGBW sensor with:
* - 320ms integration time
* - auto mode
* - color sensor enable
*/
RGBWSensor.setConfiguration(VEML6040_IT_40MS + VEML6040_AF_AUTO + VEML6040_SD_ENABLE);
delay(1500);
Serial.println("Vishay VEML6040 RGBW color sensor auto mode example");
Serial.println("CCT: Correlated color temperature in \260K");
Serial.println("AL: Ambient light in lux");
delay(1500);
}
void loop() {
Serial.print("RED: ");
Serial.print(RGBWSensor.getRed());
Serial.print(" GREEN: ");
Serial.print(RGBWSensor.getGreen());
Serial.print(" BLUE: ");
Serial.print(RGBWSensor.getBlue());
Serial.print(" WHITE: ");
Serial.print(RGBWSensor.getWhite());
Serial.print(" CCT: ");
Serial.print(RGBWSensor.getCCT());
Serial.print(" AL: ");
Serial.println(RGBWSensor.getAmbientLight());
delay(400);
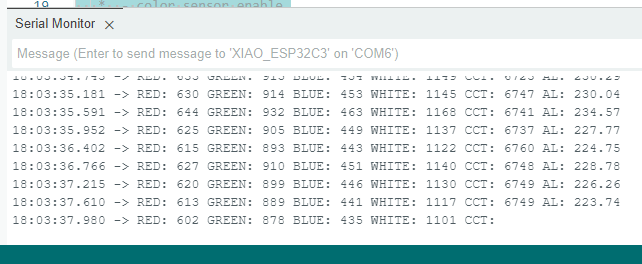
}Basically the code executes every 400ms (0.4 seconds), getting red, green, blue, white, correlated color temperature and ambient light in Lux. You can now click “upload” in the top left part of the Arduino IDE, after having connected your ESP32-C3 via USB cable to your computer.
Results and final thoughts
You will start seein data being printed to the serial monitor of your Arduino IDE, like in the image below. Remember that all information is 16-bit (0-65535), the more “color” or light level you have, the higher the value presented.
I made a video illustrating how to connected and use this sensor, enjoy. Prease post your question in the commentary section below or in Youtube (where the video is hosted). Also remember that you can buy this sensor from my affiliate link on Aliexpress.


Leave a Reply