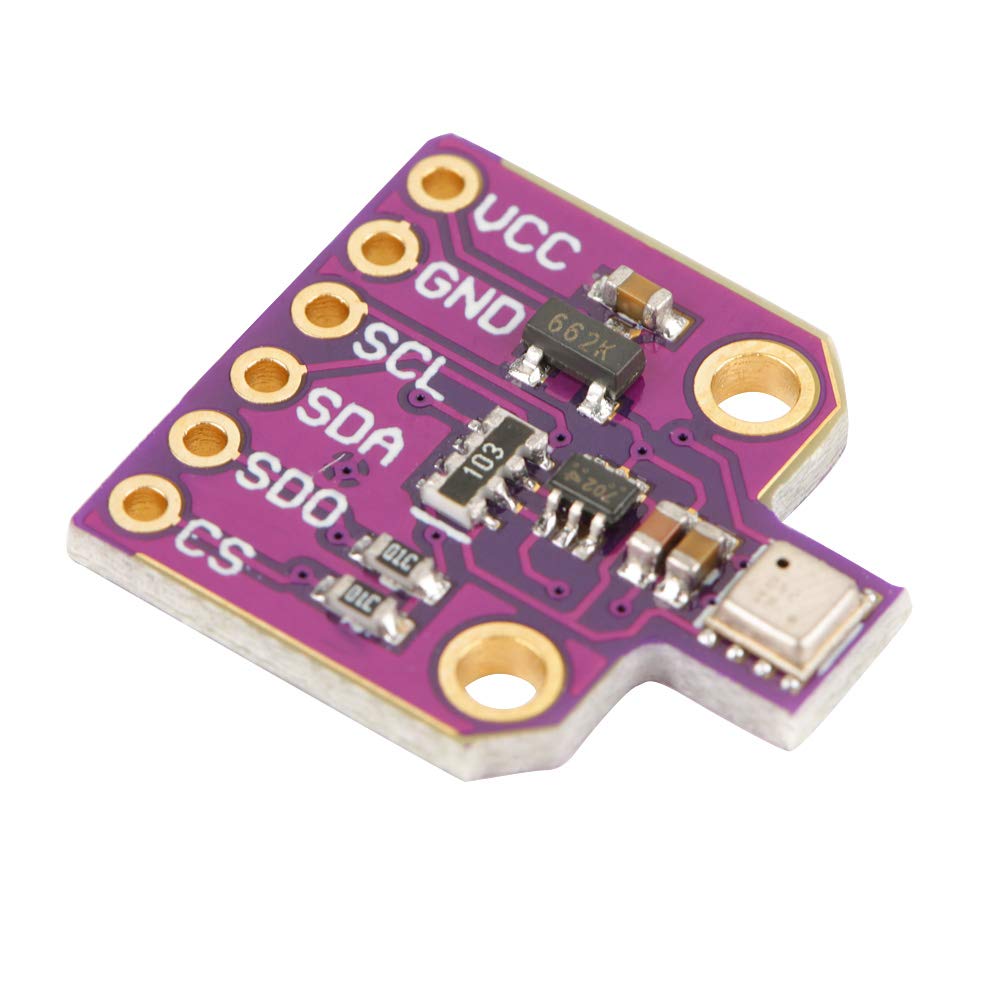
Let’s learn how to read the BME680 environmental sensor with microPython, using an ESP32 and Thonny IDE. This is an environmental sensor by Bosch. It is capable of reading temperature, humidity, atmospheric pressure and air quality (IAQ).
Bosch is a great supplier of environmental sensors, like for example the BMP280 which we have seen before. BME680 is the “continuation” of their great family of sensors, bringing the air quality measurement to the table. It gives us a variable resistance equivalent to the level of gases being measured. Such gases are contained inside the VOC variable and can be Ethane, Ethanol, Acetone, Carbon monoxide and others.
This sensor has Arduino libraries, but I decided to test it in the microPython environment. This is because I have been curious about microPython lately, and had to try this one with it. I may as well bring you the Arduino version in the future. My reference for the code was (as always) RandomNerdTutorials, here.
Of course (as always) I modified the code enough that it looks and feels mine. I mainly added the non-blocking code I developed. So that one could implement the BME680 “in parallel” with other sensors and pheripherals. The original code from RandomNerdTutorials does not allow that.
Sensor datasheet is here and brings you all you need to know such sensor deeply. I got used to always have a look at the datasheet of any component I touch and use. This makes the design decisions much easier, since now you know the components limitations.
Hardware/circuit
I am going to be using the ESP32-C3 Super mini microcontroller for this experiment. You can find it on Aliexpress here. Feel free to use any hardware that runs microPython, this will most likely run smoothly. You could for example run this on a Raspberry Pi Pico or Pi Pico 2, your choice.
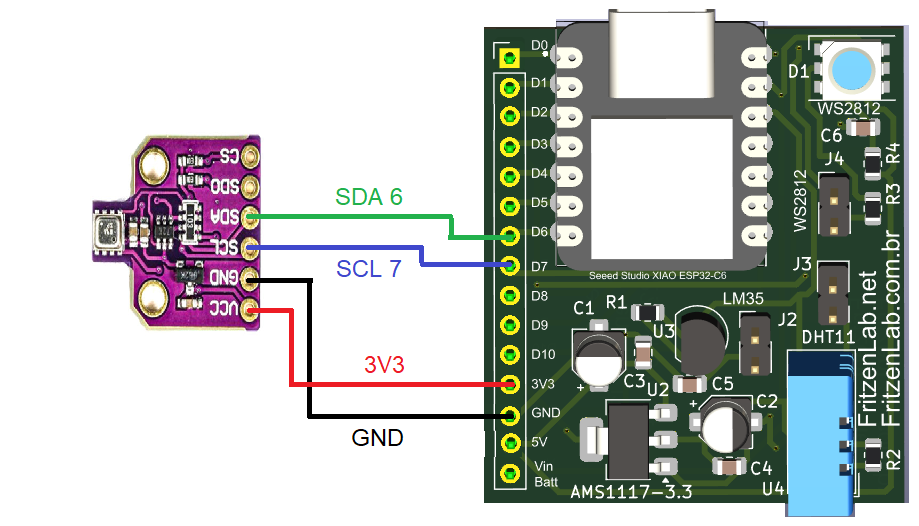
As usual the schematic diagram for my experiments is easy and clean. All you need this time is SCL and SDA for i2c, 3V3 and GND. This ESP32-C3 Super mini has i2c pins on 6 and 7, different from most boards which get it on 4 and 5. Sensor is low power enough that the ESP32-C3 board itself can supply it.
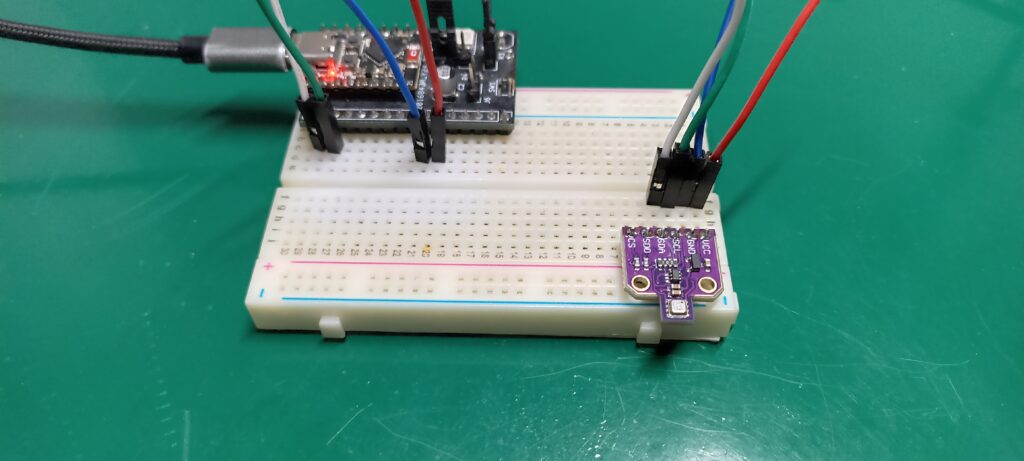
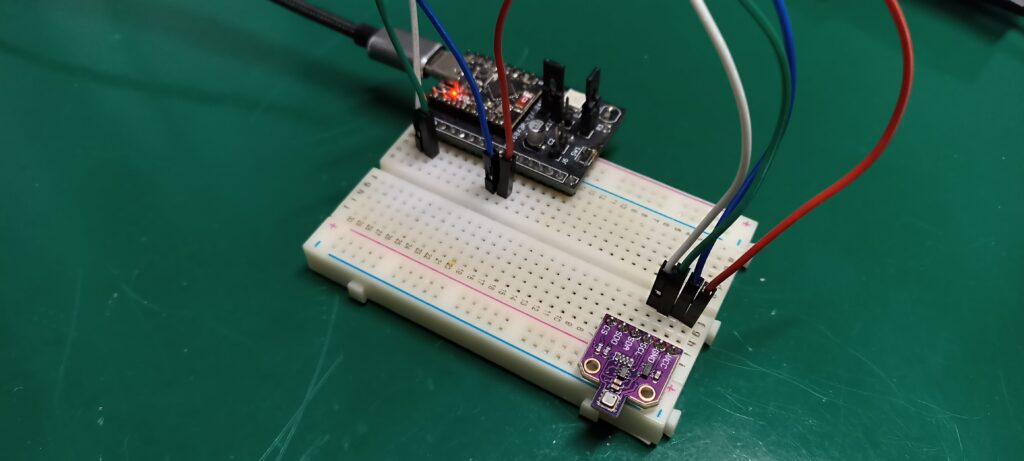
You can see below the circuit assembled on a breadboard, all you need is four wires and a USB-C cable.
Firmware/code
As usual in microPython there is one (or more) files that act as “libraries” for the component being tested. In our case this is “BME680.py”, containing everything necessary for the sensor interface via i2c. There is also a “main.py” file, containing our programmed sequence of events (the effective sensor usage). Both files are necessary and are on my Github here.
The code snippet below is the “juice” of it, containg all readings from the sensor and “print()” functions.
temp = str(round(bme.temperature, 2)) + ' C'
            #temp = (bme.temperature) * (9/5) + 32
            #temp = str(round(temp, 2)) + 'F'

            hum = str(round(bme.humidity, 2)) + ' %'

            pres = str(round(bme.pressure, 2)) + ' hPa'

            gas = str(round(bme.gas/1000, 2)) + ' KOhms'

            print('Temperature:', temp)
            print('Humidity:', hum)
            print('Pressure:', pres)
            print('Gas:', gas)
Remember that both files “BME680.py” and “main.py” are on my Github for you to take. What the complete code does is read the BME680 environmental sensor every 5000 miliseconds (5 seconds), and do nothing in between. All available sensores are read: temperature, humidity, atmospheric pressure and gases.
Information about the readings is then showed on screen, from the “print()” command. Gas sensor readings are in kOhms, which is the raw/crude way to read such sensor. You can then transform these readings into more useful, just read the datasheet to figure it out.
Testing and final thoughts
On Thonny IDE you should save both the “BME680.py” and “main.py” files TO THE MICROCONTROLLER, not your computer. Then press the green arrow at the top of the screen (“Run current script (F5)”). I made a nice video illustrating how this sensor works, enjoy.


Pingback: BMP180 sensor with MicroPython - FritzenLab electronics