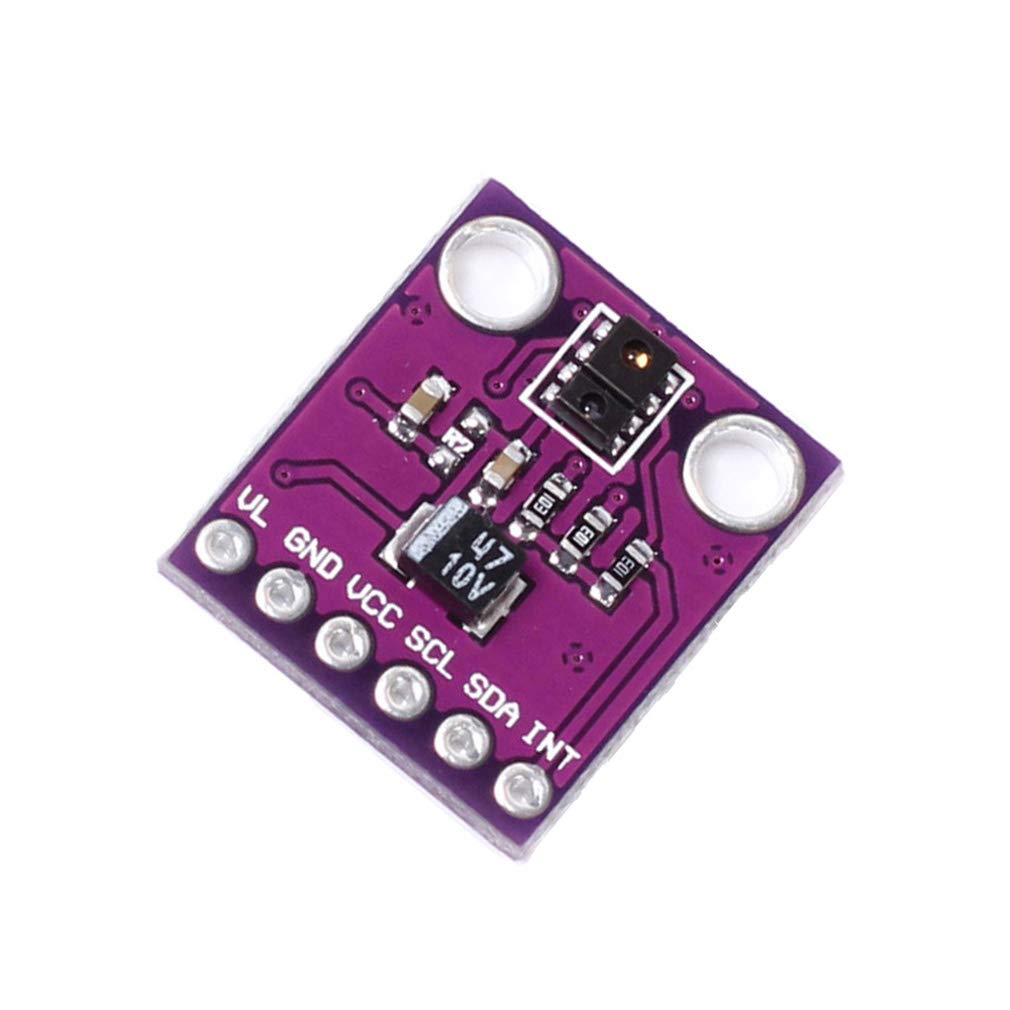
In this article you will learn how to use the APDS-9900 proximity sensor with microPython. We will be using an ESP32-C3 super mini (from Aliexpress) as the controller. The idea is to harness the proximity detection power of the APDS-9900 to basically light an LED. It will go on every time we approximate an object to the sensor.
We have tested this sensor before, that time with an ESP32-C6 and Arduino code, here. APDS-9900’s datasheet here states that it has a 2000:1 dynamic range, so it can detect approximation in both dark and light environments. Sensor output using the library I found is 0-1023, so 10 bit. Values for non-detection (no object) are 20-40 and for very close proximity (< 10mm) get to 1023.
Hardware
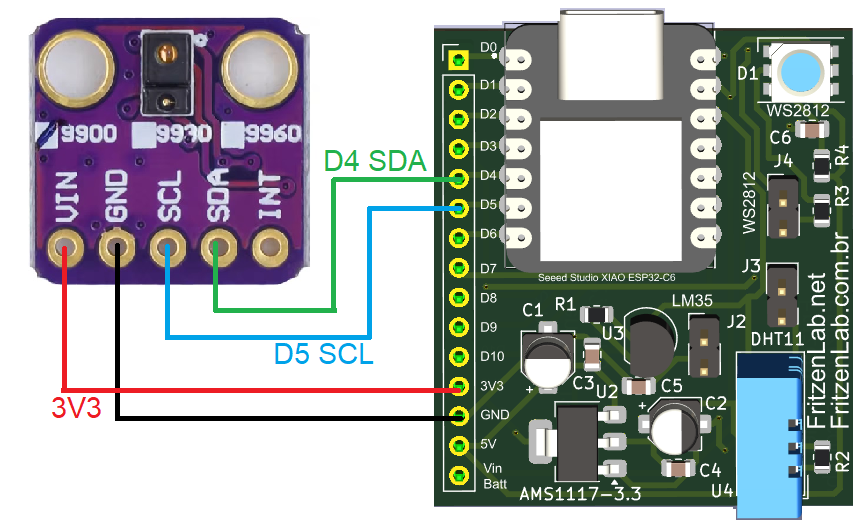
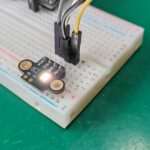
Physical connecting of this sensor to the ESP32-C3 is straightforward. All you need is an i2c connection, SDA and SCL. It is also necessary to connect 3V3 and GND. Complete schematic diagram is below, which is also the same we have seen before. That’s when I talked about this sensor programming with Arduino code.
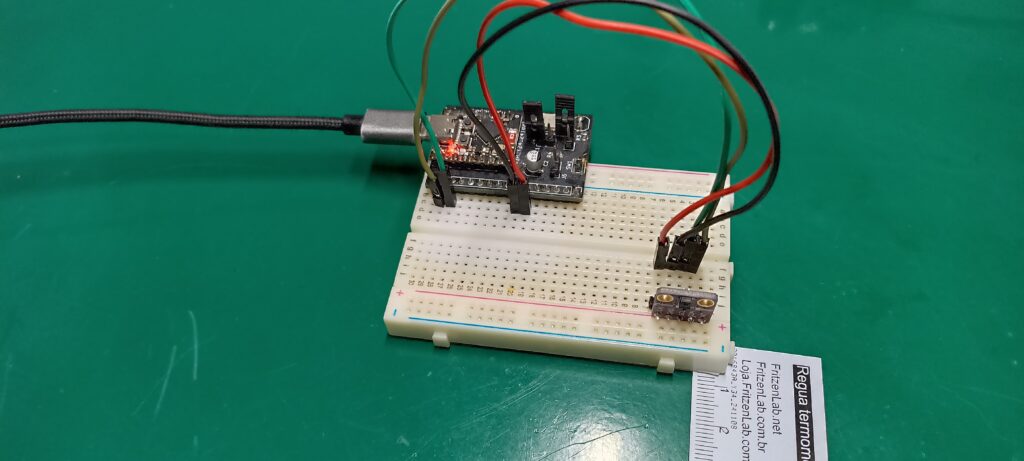
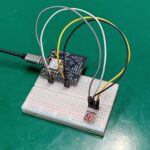
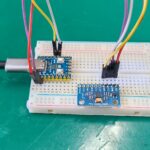
See below the picture of the assembly on a breadboard, complete with USB cable to computer communication.
Coding/firmware
I did not write the library code necessary for this sensor to work. Instead I searched the internet for it. End up finding this code on Github. It was most likely written for the APDS-9960 version of the sensor, but in my tests I saw it works for the “-9900” variant as well.
One of the things I had to change in the example code below is the i2c declaration line, to add the correct pins for the ESP32-C3 board. Pin D4 (SDA) is actually pin 6 on this board, while pin D5 (SCL) is actually pin 7.
i2c = I2C(0, scl=Pin(7), sda=Pin(6), freq=400_000)I also changed all mentions of “9960” to “9900” all around the code, including in the “apds9900LITE.py” file seen in this link. By the way you should copy the code from that link and paste into a new file inside Thonny IDE. Then save in ON THE ESP32 (not the computer) as “apds9900LITE.py”.
Now copy the code below (or from here) and paste into a new file in Thonny IDE. Save it as “main.py” INSIDE THE ESP32, not inside the computer.
# based on code from https://github.com/rlangoy/uPy_APDS9960/tree/master
from machine import I2C, Pin
from time import sleep_ms
from apds9900LITE import APDS9900LITE

# If you need to figure the APDS9900 address (which is 0x39) use https://randomnerdtutorials.com/raspberry-pi-pico-i2c-scanner-micropython/
#On ESP32-C3 Supermini the i2c pins are D4 (pin 6 SDA) and D5 (pin 7 SCL)
i2c = I2C(0, scl=Pin(7), sda=Pin(6), freq=400_000)
onboardled= Pin(8, Pin.OUT)

apds9900=APDS9900LITE(i2c)      # Enable sensor
apds9900.prox.enableSensor()    # Enable Proximit sensing

while True:
        sleep_ms(25) # wait for readout to be ready
        print(apds9900.prox.proximityLevel)   #Print the proximity value
        if apds9900.prox.proximityLevel > 110:
            onboardled.value(0) # LED on ESP32-C3 super mini has its logic inverted
        else:
            onboardled.value(1)
The end result/testing
As stated above the sensor output is a 10 bit value, from 0 to 1023. I choose to make a comparison “> 110” to turn ON and LED, it seemed to be a good distance. So every time you approximate an object from the sensor that produces an output “> 110”, the ESP32-C3’s onboard LED goes ON.
There is also a “print()” to reprooduce the sensor value into the shell of Thonny IDE, so that you can see which value is being read.
I made a video illustrating how the sensor work, enjoy and please comment your questions below!. If you want to buy this sensor, use my Aliexpress affiliate link here.

Leave a Reply