In today’s post we will be configuring microPython on ESP32-C3 super mini, using a tool called “esptool”. We will first erase the ESP32 flash memory then flash a new “.bin” file into it. That serves the purpose of running microPython code into our board. Then we will run a simple LED blink without using “sleep()”, not blocking any other possible code from executing.
The reference for this procedure is in the official microPython page here. First thing you will do is install “esptool” into your Windows computer, following this procedure. You basically open the command prompt by pressing the Windows button and typing “cmd”, it is a black screen icon.
Then type the command below and just way for the installation to happen.
$ pip install esptoolNext step is to erase the ESP32-C3 flash memory. With the device connected to the computer’s USB, figure what is its COM port name. To do that just press the Windows button and type “device manager”. Open the device manager and search for a COM port, which is the ESP32-C3 one.
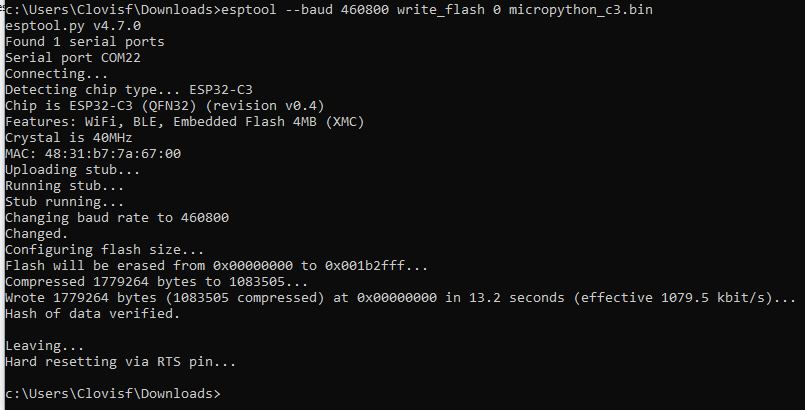
Then back to the command prompt (cmd) type the command below. Substitute “PORTNAME” for the COM port you just found, ex “COM22”. You are going to see text come up like in the image below, indicating success.
esptool.py --port PORTNAME erase_flash
Now we have to downlod the microPython binary file to be installed in our board. Go to (in our specific case) this link and download the latest “.bin’” file to your computer. I recommend you to rename the just download file to make it easier to type it into the terminal. So in my case I renamed the file “micropython_c3.bin”.
Flashing the firmware
There is a single command that will help us achieve what we want, and it is specificed below:
esptool --baud 460800 write_flash 0 micropython_c3.binBut first you need to navigate to the place where your downloaded file is. You do that from inside the terminal (cmd) using the “cd” command. Mine what like this:
cd C:\Users\Clovisf\DownloadsOnce you are inside the folder your “.bin” file is at, just type the command above and hit enter. It is not necessary to type the COM port name (as long as you don’t have more than one ESP32 connected). You are going to see something similar to the screen below, if successfull.
Blinking an LED
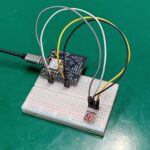
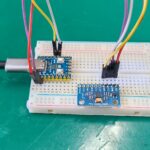
That’s it for the flashing firmware part, just unplug the board and plug it again to be sure. Now open the Thonny IDE software and go to “Tools > Option”, then go to the “Interpreter” tab. Make sure “MicroPython (Raspberry Pi Pico)” is selected and that the COM port of your board is also selected.
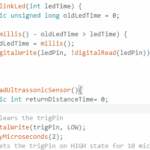
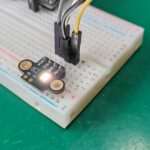
Copy and paste the code below into a new file in Thonny IDE, saving it TO THE BOARD as “main.py”. Notice I am using pin 8 as the LED, since this is the pin that ESP32-C3 super mini uses.
import machine
import time


led= machine.Pin(8, machine.Pin.OUT) #ESP32-C3 super mini

if __name__ == "__main__":

    initialtime= time.ticks_ms() #https://docs.micropython.org/en/latest/library/time.html

    while True:


        if time.ticks_diff(time.ticks_ms(), initialtime) > 200: #update with the "current" time
            initialtime= time.ticks_ms()

            led.value(not led.value())
Now just hit the green arrow at the top of the screen (“Run current script (F5)”) and look at the board. LED onboard (pin 8) will be blinking. I made a video to illustrate the experiment, enjoy:
Want to see more microPython articles? check it out here.

Leave a Reply