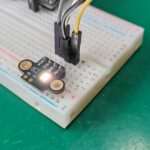
Today I will introduce you to a tiny 0.49″ OLED display, something I found on Aliexpress (link here) and decided to see if it is worth it. It communicates via i2c to any microcontroller, besides that being necessary only to supply it with 3.3V.
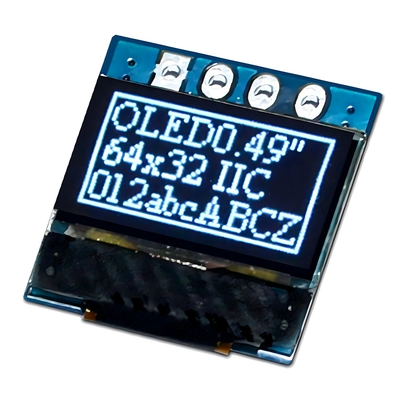
Its resolution is 64×32 pixels, mine is white color only (there are options with Yellow+Blue, only blue and only yellow. It is really tiny and its library has many many fonts available. You can find a good starting point tutorial here and all the fonts in here.
Connections (hardware)
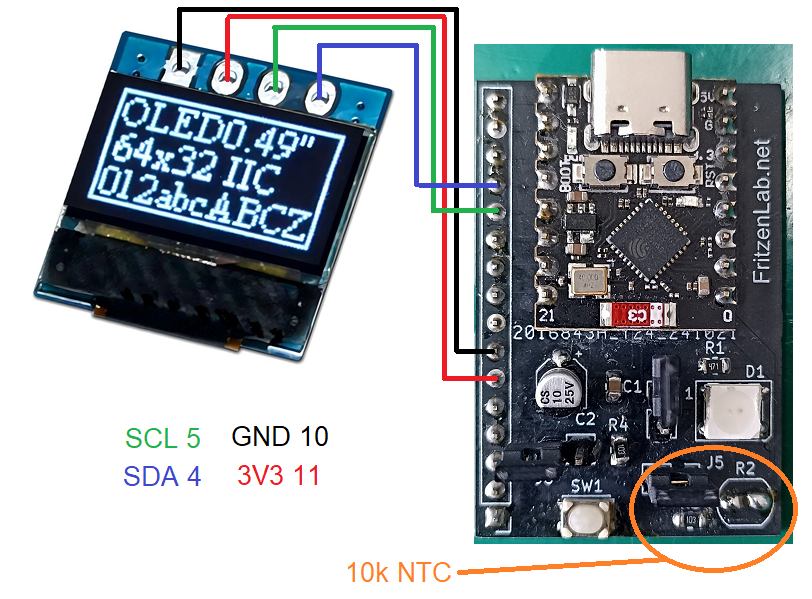
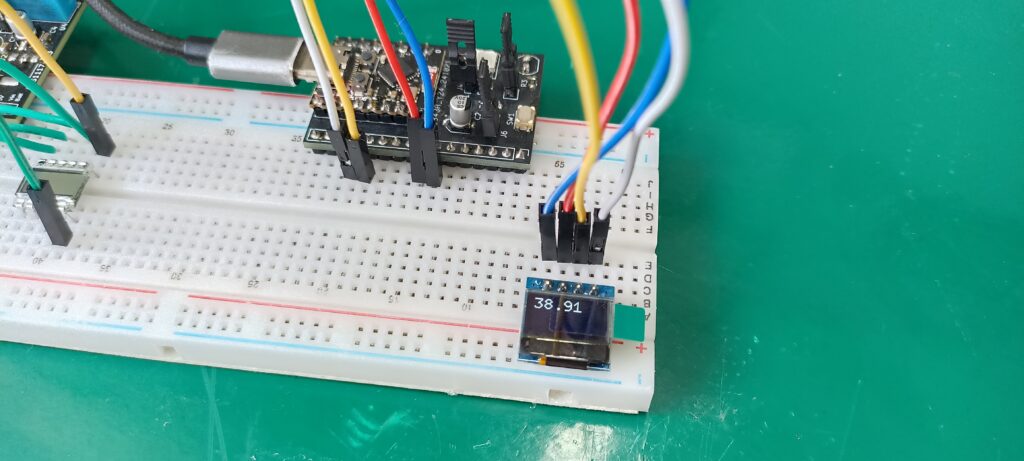
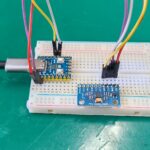
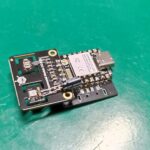
As stated above there is a need for only four connections, i2c (SDA and SCL/SCK), GND and 3V3. Below you can see it connected to a ESP32-C3 circuit board I made. There is also a 10k Ohm NTC thermistor in series with a 10k Ohm resistor, connected to the analog input A3.
Here is the ESP32-C3 mini pinout and guide for reference.
Testing (software)
We will implement two tests for this tiny display, one is showing purely text (varios lines) and the other is showing temperature in degrees Celsius read from a NTC thermistor. For tha you will need a library called u8G2, installed in the Arduino IDE. I am using the IDE version 2.2.x.
In order to install the required library, in the Arduino IDE go to “Sketch > Include library > Manage libraries ..” and type “u8g2”, install the one from “Oliver”. Now paste the code below in the IDE, compile and upload to your Arduino.
// Display - https://pmdway.com/collections/oled-displays/products/0-49-64-x-32-white-graphic-oled-i2c
// Guide - https://pmdway.com/blogs/product-guides-for-arduino/tutorial-using-the-0-49-64-x-32-graphic-i2c-oled-display-with-arduino

#include <Arduino.h>
#include <U8g2lib.h>
#include <Wire.h>

U8G2_SSD1306_64X32_1F_F_HW_I2C u8g2(U8G2_R0, /* reset=*/ U8X8_PIN_NONE);

void setup() {
  u8g2.begin();
}

// fonts https://github.com/olikraus/u8g2/wiki/fntlistall#4-pixel-height

void loop()
{
  u8g2.clearBuffer();					// clear the internal memory
  u8g2.setFont(u8g2_font_u8glib_4_tf);	// choose a suitable font
  u8g2.drawStr(0, 5, "Hello,");	 // write something to the internal memory
  u8g2.drawStr(0, 10, "World...");
  u8g2.drawStr(0, 15, "I'm tiny...");
  u8g2.drawStr(0, 20, "So tiny!");
  u8g2.drawStr(0, 25, "However you can");
  u8g2.drawStr(0, 30, "have six lines");
  u8g2.sendBuffer();					// transfer internal memory to the display
  delay(1000);

  u8g2.clearBuffer();          // clear the internal memory
  u8g2.setFont(u8g2_font_t0_11_tf);  // choose a suitable font
  u8g2.drawStr(0, 10, "Hello,");  // write something to the internal memory
  u8g2.drawStr(0, 20, "World...");
  u8g2.drawStr(0, 30, "I'm tiny...");
  u8g2.sendBuffer();          // transfer internal memory to the display
  delay(1000);

  u8g2.clearBuffer();          // clear the internal memory
  u8g2.setFont(u8g2_font_tenstamps_mf);  // choose a suitable font
  u8g2.drawStr(0, 12, "ABCD");  // write something to the internal memory
  u8g2.drawStr(0, 30, "1234");
  u8g2.sendBuffer();          // transfer internal memory to the display
  delay(1000);

  for (int a = 999; a >= 0; --a)
  {
    u8g2.clearBuffer();          // clear the internal memory
    u8g2.setFont(u8g2_font_inb24_mr );  // choose a suitable font
    u8g2.setCursor(0, 24);
    u8g2.print(a);
    a = a - 47;
    u8g2.sendBuffer();          // transfer internal memory to the display
    delay(100);
  }
  delay(1000);
}
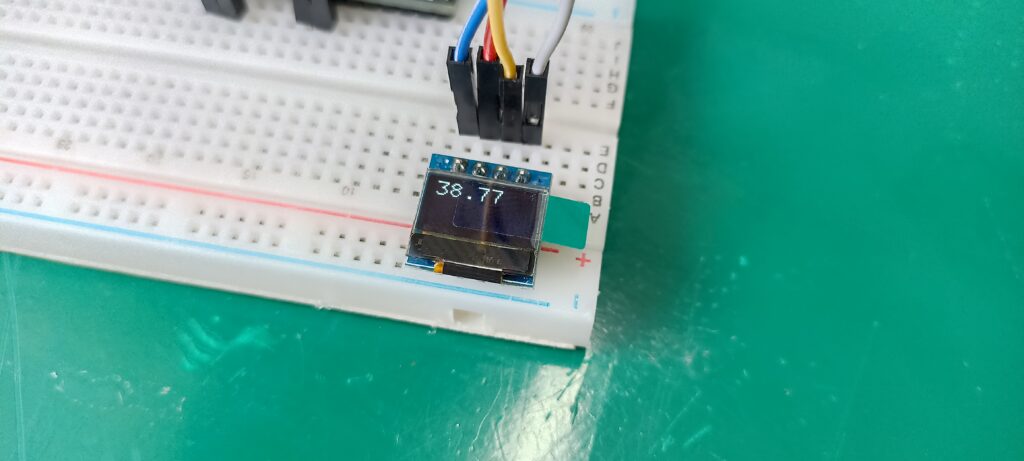
It is a demonstration code I found in here, showing different fonts and variables being printed on the screen. I then made a demonstration code myself, one that reads temperature from an NTC thermistor and shows on screen every one second. You can find it below.
#include <Arduino.h>
#include <U8g2lib.h>
#include <Wire.h>

U8G2_SSD1306_64X32_1F_F_HW_I2C u8g2(U8G2_R0, /* reset=*/ U8X8_PIN_NONE);

// Conexão do termistor
const int pinTermistor = A3;

// Parâmetros do termistor
const double beta = 4000.0;
const double r0 = 10000.0;
const double t0 = 273.0 + 25.0;
const double rx = r0 * exp(-beta/t0);

// Parâmetros do circuito
const double vcc = 3.3;
const double R = 10000.0;

// Numero de amostras na leitura
const int nAmostras = 5;

void setup(){
  u8g2.begin();

}
void loop(){

  int soma = 0;
  for (int i = 0; i < nAmostras; i++) {
    soma += analogRead(pinTermistor);
    delay (100);
  }

  // Determina a resistência do termistor
  double v = (vcc*soma)/(nAmostras*4096.0);
  double rt = (vcc*R)/v - R;

  // Calcula a temperatura
  double t = beta / log(rt/rx);
  t= t-273;

  u8g2.clearBuffer();					// clear the internal memory
  //u8g2.setFont(u8g2_font_9x18_mn);	// choose a suitable font
  u8g2.setFont(u8g2_font_t0_17_tn);
  //u8g2.drawStr(0, 5, "Hello,");	 // write something to the internal memory
  //u8g2.drawStr(15, 5, "World...");
  //u8g2.drawStr(0, 15, "I'm tiny...");
  u8g2.setCursor(0, 20);
  u8g2.drawStr(40, 20, "C");
  u8g2.print(t);


  u8g2.sendBuffer();					// transfer internal memory to the display
  delay(1000);

}
It uses the analog input A3 from the ESP32-C3 board, reading it and applying an equation to obtain temperature directly in degrees Celsius.
Seeing the codes in action
I made a video for you to see both codes above in action, illustrating how to print text and varibles alternatively on the 0.49″ tiny screen.
Hope you guys liked it, and if you want to know more displays check this one out.


Leave a Reply