Sensirion’s SGP40 air quality sensor is capable of analyzing air quality, specially when paired with an external temperature and humidity sensor. It is considered a slow sensor, whose datasheet states that “time until reliably detecting VOC events” is smaller than 60 seconds and “Time until specifications in this datasheet are met” is around one (1) hour.
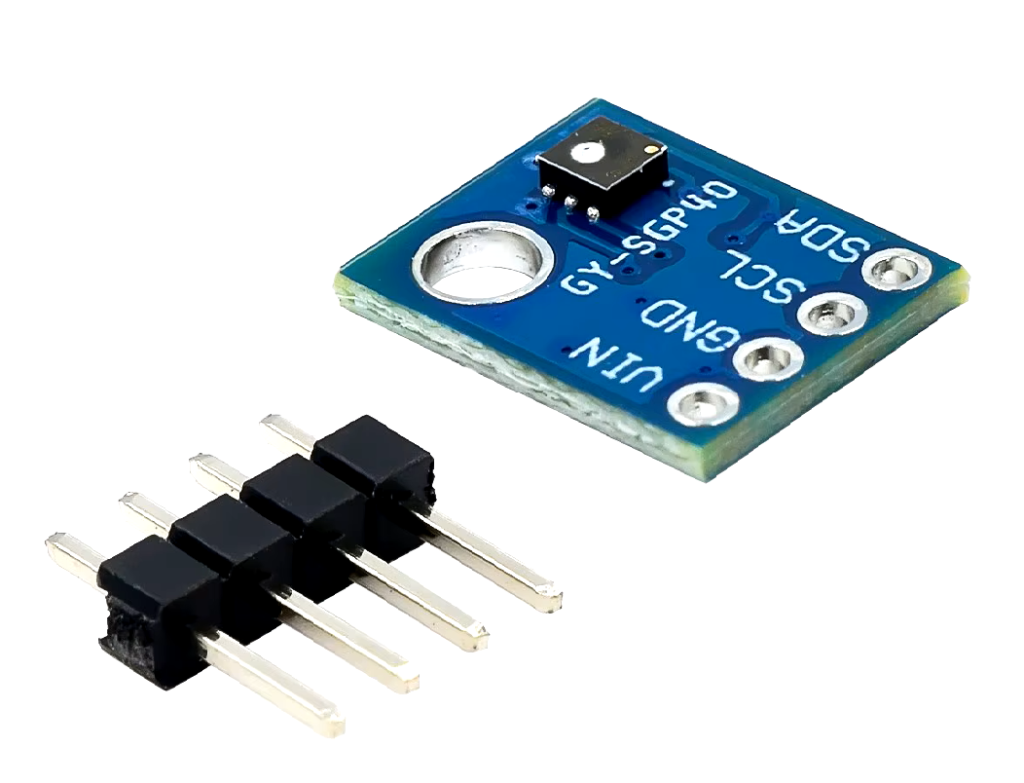
This sensor measures VOC, but what is it? “Volatile organic compounds” are gases present in (for example) fossile fuels, which are not healthy for us to be exposed to. So essentially this sensor gives us a number which represents air quality, or the lack of volatile organic compounds in the air.
VOC is a number that goes from 0 to 500 (datasheet page 10), where higher numbers mean more polluted air. Around 100 is the average number you want to be at; in my bench experiments, this value was around 105-112 after at least 30 minutes of test. But it also floated around a bit, going as high as 160 some times.
So this sensor is not like many others that give you values right away, it takes its time to stabilize and start being true to its datasheet. Also this application note states that SGP40 uses a 24 hour memory to compare current environment values to previous ones. This is (according to them) more a less what the human nose does, comparing previous “experiences” to judge current ones.
This means that its values always represent the current state against a previous one.
Hardware
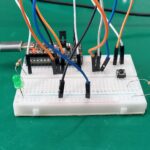
As stated before, we are pairing the SGP40 VOC sensor with a SHT21 temperature and humidity sensor. This is to be able to calculate VOC from otherwise RAW values. I will be using my ESP32-C6 dev board as the controller, but you can use virtually any hardware that can run Arduino code.
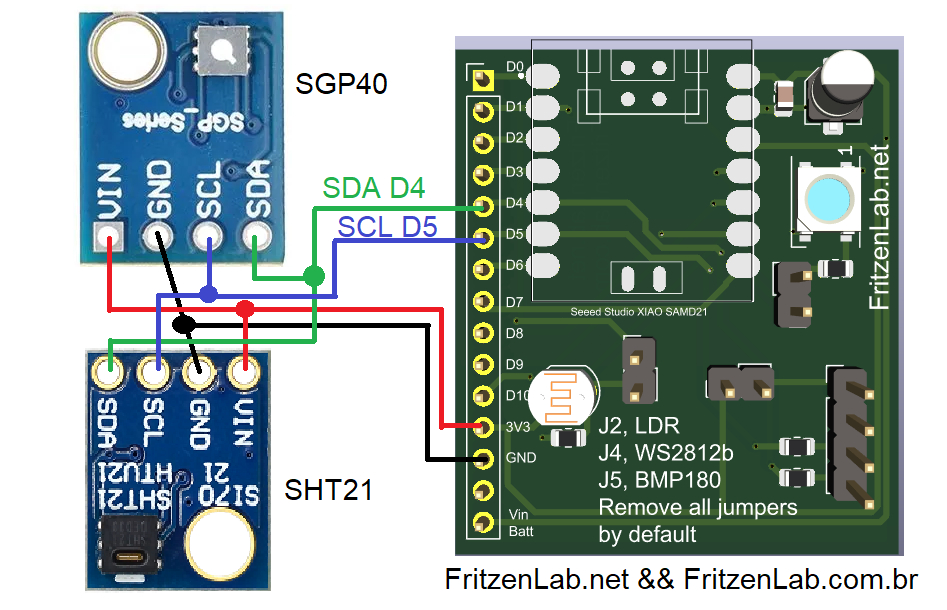
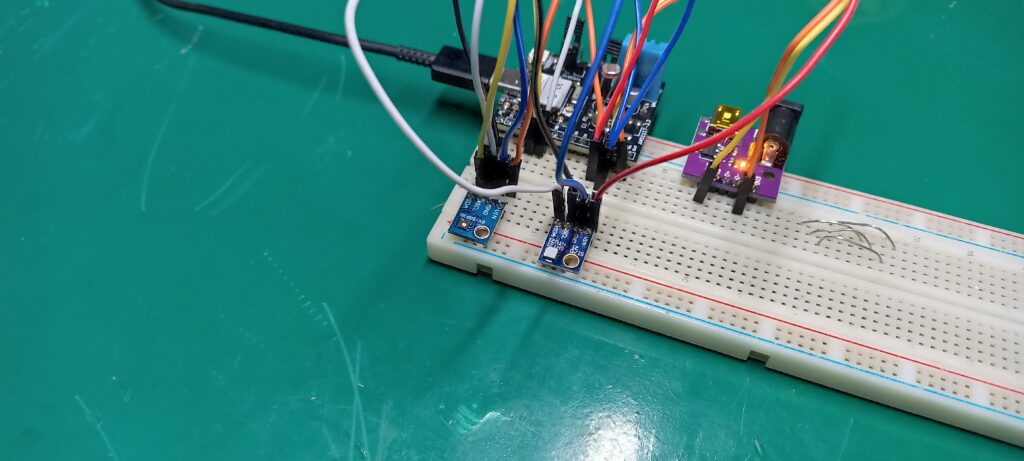
Assemble the circuit above and plug in the USB cable to the computer. Leave it like that for a good while, then let’s go the the next step which is the necessary software/firmware.
Coding for SGP40
This sensor communicates with Arduino via i2c, so it needs a library to do so. We are going to be using the Adafruit one. To download and use it, in your Arduino IDE go to “Sketch > Include library > Manage Libraries” and type “SGP40”; install the Adafruit one.
Let’s then use an example that comes with the library itself. To do that go to “File > Examples > Adafruit SGP40 sensor > sgp40_voc”. The code has to be modified since it comes with support for SHT31, but we are using the SHT21. It is just a few lines of modification, then the final code is seen below.
#include "Adafruit_SGP40.h"
#include <SHT21.h>  // include SHT21 library

Adafruit_SGP40 sgp;
SHT21 sht;

void setup() {
  Serial.begin(115200);
  Wire.begin();
  while (!Serial) { delay(10); } // Wait for serial console to open!

  Serial.println("SGP40 test with SHT31 compensation");

  if (! sgp.begin()){
    Serial.println("SGP40 sensor not found :(");
    while (1);
  }

  Serial.print("Found SGP40 serial #");
  Serial.print(sgp.serialnumber[0], HEX);
  Serial.print(sgp.serialnumber[1], HEX);
  Serial.println(sgp.serialnumber[2], HEX);
}

int counter = 0;
void loop() {
  uint16_t sraw;
  int32_t voc_index;

  float t = sht.getTemperature();  // get temp from SHT
  Serial.print("Temp *C = "); Serial.print(t); Serial.print("\t\t");
  float h = sht.getHumidity(); // get temp from SHT
  Serial.print("Hum. % = "); Serial.println(h);

  sraw = sgp.measureRaw(t, h);
  Serial.print("Raw measurement: ");
  Serial.println(sraw);

  voc_index = sgp.measureVocIndex(t, h);
  Serial.print("Voc Index: ");
  Serial.println(voc_index);

  delay(1000);
}
There are three main parts of this code, or three main functions. Variables “t” and “h” receive temperature and humidity (respectively) from SHT21, while the function below calculates de VOC index:
voc_index = sgp.measureVocIndex(t, h);You see that the library does everything for us, no need to do complex math or averages, etc.
The final result
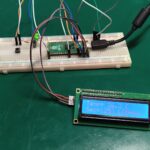
Plug the USB cable and upload the code to your board. In the Arduino IDE go to “Tools > Serial monitor” and start observing what the board sends to you. The first many “VOC index” values will most likely be zero (0), then slowly the values will increase up to (or around) 100.
In my experience the values takes around 10+ minutes to stabilize, then keeps drifting between 95 and 115. Of course it depends on the environment you are in, may vary. Below you can see a snapshot of the values at the moment of this writing.
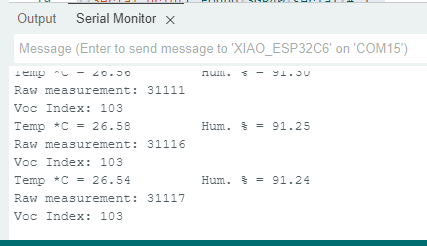
Notice that the last three VOC values were 103, while temperatures were around 26.5ºC and humidity 91% (tropical country here). Raw measurement was 31111-31117 out ot 65535. I then made an experiment: put a gas oven lighter (the ones that produce a flame) close to the sensor, then the VOC values went up to 120-126 for a while, before coming back to ~100.
According the this sensor’s manufacturer (Sensirion) it can be use in all kinds to HVAC system, to indicate air quality. Once you wrap your mind around the concept of VOC (volatile organic compounds) you can have a baseline for comparison.
If you wan to try the SGP40 for yourself, buy it from Aliexpress with my affiliate link.



Leave a Reply