Today we are going to implement a capacitive touch and debounce with Renesas RA4M1. Touch control will be done by the TTP223b module (datasheet here). Our microcontroller will be the SeeedStudio Xiao RA4M1 from Renesas, running Arduino code.
There is a lot of different things to talk about, so let’s begin. The first one is the microcontroller used, a Xiao RA4M1 whose info is here. It is an ARM-Cortex M4 running Arduino code at 48MHz, pretty fast and furious. When you look at the Renesas product line, this one is small comparatively. It has only 256kB of Flash (program) memory and 8k EEPROM.
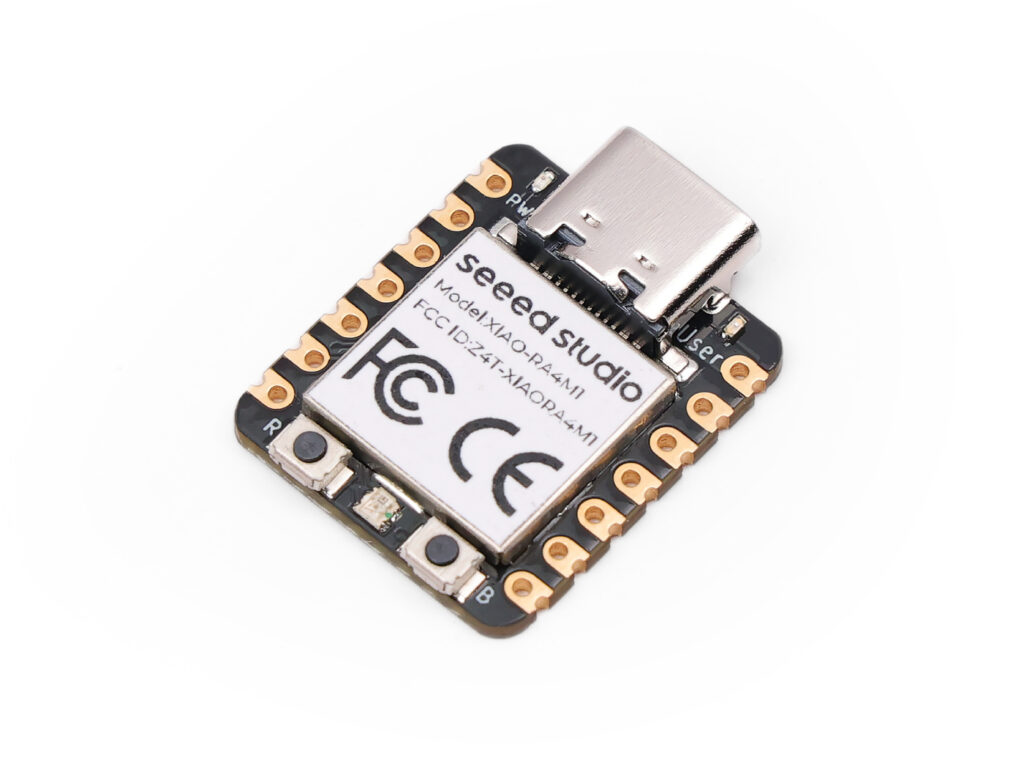
This chip is the same used in Arduino UNO R4. What I like about this version is its small form factor, despite having only 11 IO pins available. Our second important topic is the touch sensor. We are talking about a TTP223b in SOT-23 form factor, pretty small and powerful.
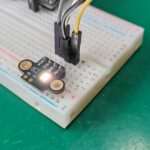
It works from 2.0V all the way up to 5.5V, oscillating @ 1MHz. All it needs outside the chip is a small ceramic capacitor up to 50pF. Module is seen below and is avaible to buy from my affiliate link.
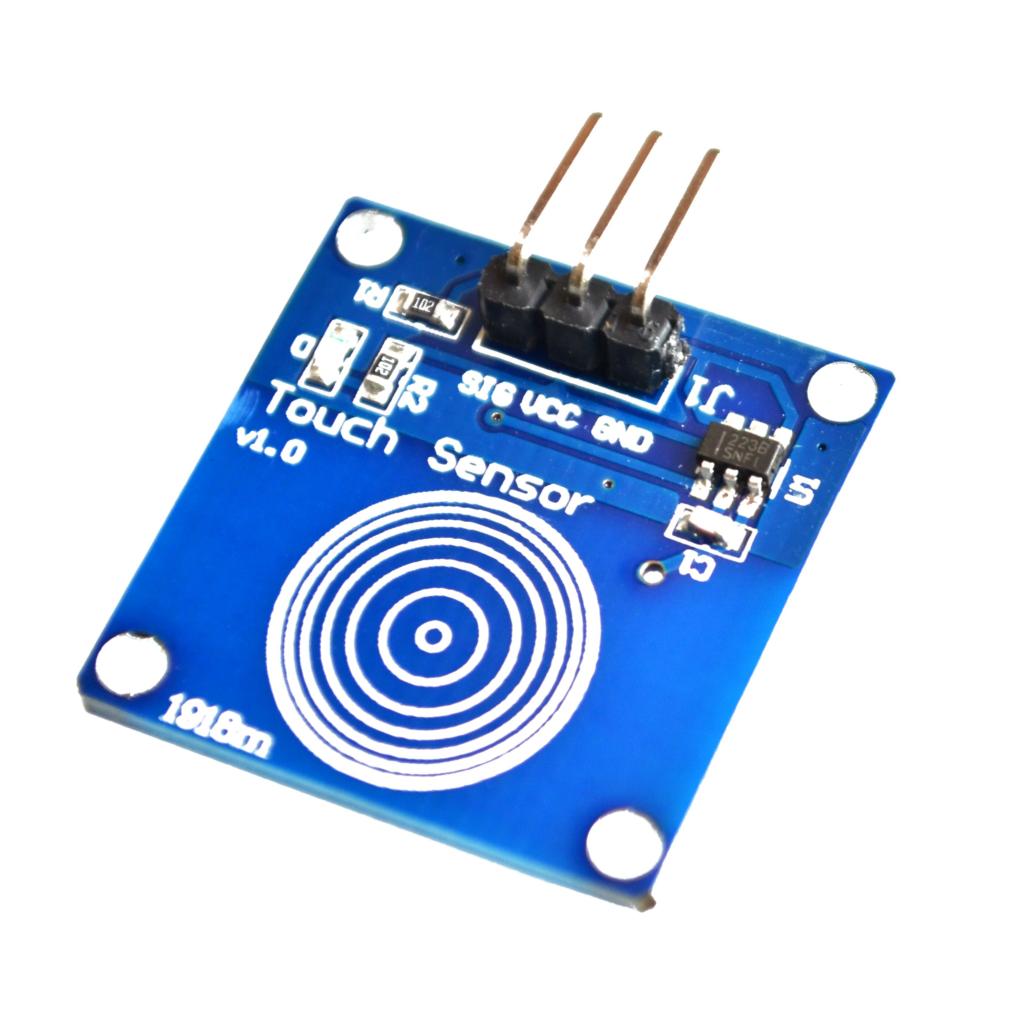
Sensor is called capacitive because its arrangement forms a capacitor (of very small capacitance). Your finger does the job of altering this capacitance, making the thresold value of the TTP223b be reached. This is actually an impedance problem, since the sensor is (as stated above) oscillating at 1MHz.
Debouncing
Our third subject of the day is debouncing. It means preventing or correcting the “bounce” of an input signal, the characteristic that makes it go/jump from 0 to 1 multiple times right after the first command. This generally happens in the first milisseconds after a mechanical switch is activated.
Image below illustrates it beautifully, the signal goes crazy for a short amount of time, making the microcontroller believe multiple toggles are happening.
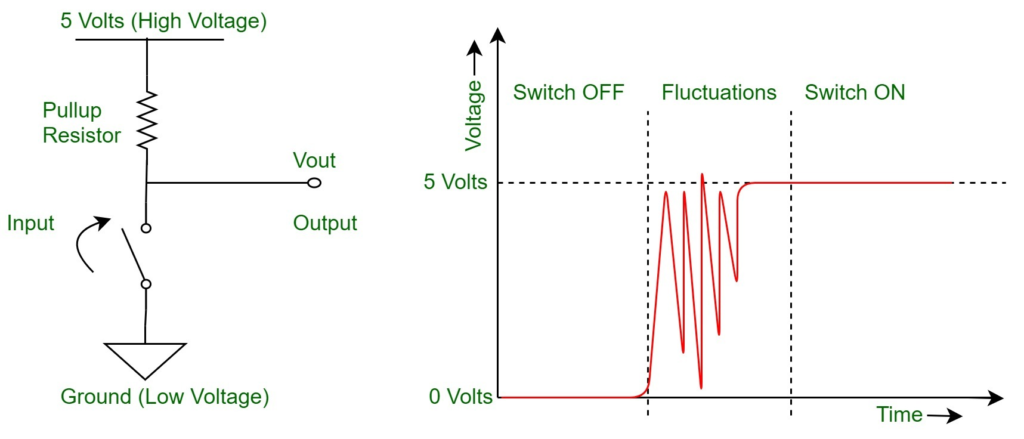
There must be a way of making it more “clean”, when a state is assumed it should not come back to the previous state. This is what debounce does, it cleans the signal so that when it goes to 1 (high) it stays that way until it goes to 0 (low). So no more excursions between one and zero at turn on or turn off.
Schematic diagram
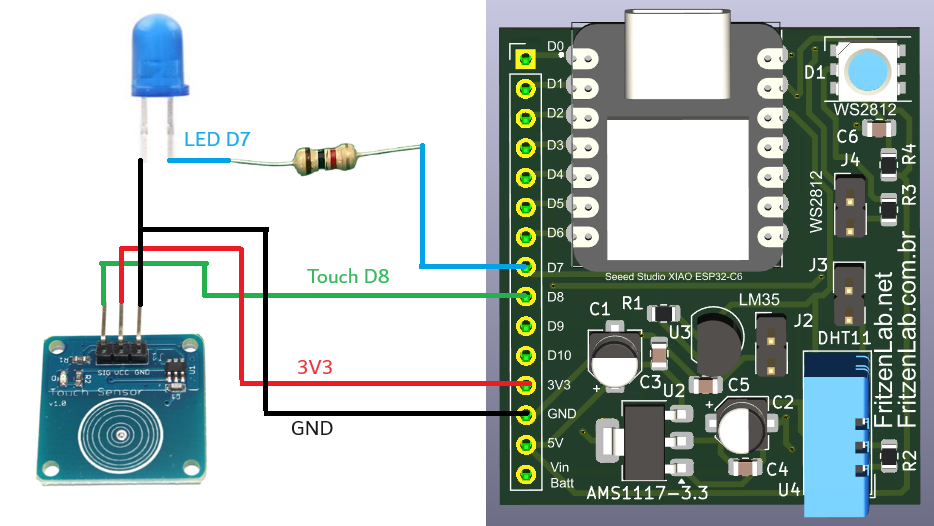
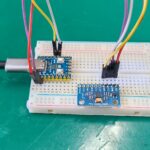
Our test today consists of a single capacitive touch button (with TTP223b chip) and a LED (with its resistor). All of this connected to pins D7 (LED) and D8 (touch sensor) of the Xiao RA4M1 microcontroller. One important notion in here: this circuit would work WITH ANY MICROCONTROLLER, there is nothing special about the setup below.
So if you only have an Arduino UNO, this would work. ESP32, PIC16F, ESP8266, all of these chips would work. All it has to be capable is to handle digital inputs.
Coding – comparing techniques
We are programming this examples in Arduino environment, with Arduino IDE 2.3.2 nightly. In the first example I make a try in debouncing by adding a 200ms (milisseconds) delay after the first detection. It works as intended, but when you keep your finger in the sensor it basically blinks the LED.
#define LED D7
#define TOUCH D8

long oldtime;


void setup() {
  // put your setup code here, to run once:
  pinMode(LED, OUTPUT);
  pinMode(TOUCH, INPUT);

}

void loop() {
  // put your main code here, to run repeatedly:
  if(millis() - oldtime > 200){
    oldtime= millis();

    if(digitalRead(TOUCH)){
      digitalWrite(LED, !digitalRead(LED));
    }


  }

}
Debouncing is OK but blinking the LED? this is not what I expect. I then proceed to write a code that will debounce the touch button and not allow the LED to blink. I do this by basically creating a boolean variable called “oldstate”; this variable holds the previous button state. This is the state read in the last time the code was executed (200ms ago).
It will basically only allow the LED to toggle if the touch button is pressed and “oldstate” is FALSE. The way “oldstate” goes to FALSE (the only was) is when the button is not pressed and “oldstate” was true. So I basically wait for a falling edge detection (of the touch button) to allow the LED to ever be toggled again.
#define LED D7
#define TOUCH D8

long oldtime;
bool oldstate= false;

void setup() {
  // put your setup code here, to run once:
  pinMode(LED, OUTPUT);
  pinMode(TOUCH, INPUT);

}

void loop() {
  // put your main code here, to run repeatedly:
  if(millis() - oldtime > 200){
    oldtime= millis();

    if(digitalRead(TOUCH) && oldstate== false){
      digitalWrite(LED, !digitalRead(LED));
      oldstate= true;
    }else if(digitalRead(TOUCH) && oldstate== true){
      oldstate= true;
    }else if(!digitalRead(TOUCH) && oldstate== true){
      oldstate= false;
    }
  }

}
Code is simple, clean and non-blocking, executes every 200ms and the rest of the time is free for your other tasks.
Results
Watch the video below to see my debouncing code in acton. Please comment below (or in my Linkedin) if you have any doubt.
Want to buy the touch sensor used in this tutorial? use my affiliate link here.


Leave a Reply