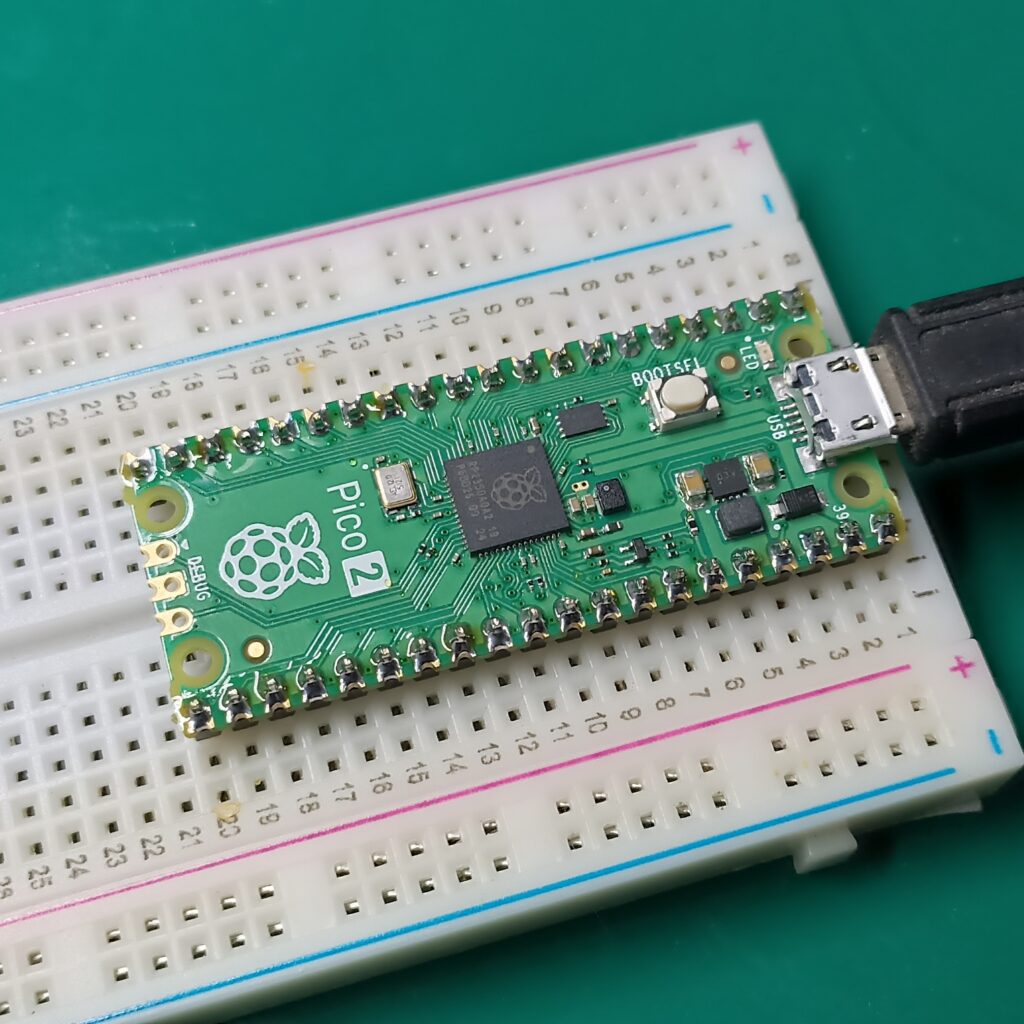
Have you got your hands in the new Raspberry Pi Pico 2? I just got mine here in Brazil a couple of days ago from a local reseller. it is (theoretically) a dual core chip with an ARM Cortex-M33 or RISC-V running at 150Mhz.

In this article we will be seeing how to getting started with it in microPython, using primarily the Thonny IDE. Assuming one doesn’t know which firmware (bootloader) the board comes with, let’s install the microPython one on it. First you go to this website and download the .uf2 file (I downloaded the RISC-V one).
Then you use a micro-USB cable to connect the board to a computer/laptop; a Windows folder will show up. Drag the .uf2 file you just downloaded (from the Downloads folder) into the folder that just opened. Open the Thonny IDE and configure the board and COM port as seen here. What you have to do inside Thonny IDE is select the language (micropython for the Pi Pico 2) and COM port.
The code
I have written the piece of code below to blink the onboard Pi Pico 2 LED. Inspiration was taken from here. I also had to discover which is is the onboard LED connected to, so I resorted to the official datasheet (It is on pin 25).
So on Thonny IDE or Mu editor, type:
import machine
import time

led = machine.Pin(25, machine.Pin.OUT)

while True:
    led.high()
    time.sleep(0.25)
    led.low()
    time.sleep(0.25)
You basically import the “machine” module that handles IOs and the “time” module that handles the sleep function. There is a while loop (a forever one) where the LED keeps being turned ON and OFF every 0.25 seconds. This is all you need to get started with the NEW Raspberry Pi Pico 2 with the RP2350 chip.
Final words
Besides microPython, the Pi Pico 2 also supports programming in its native C/C++, CircuitPython and Arduino (both third-parties). It is a neat little board of which you can expect to see more in the future, here in the blog.


Leave a Reply