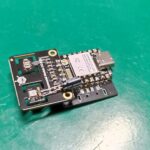
Today we will implement a temperature display with ESP32-C6, DHT11 and TM1637. We will use the ESP32-C6 dev board that I developed (details here), its onboard DHT11 temperature sensor. In addition, we will also use a 7-segment 4-digit TM1637 display and an LED to blink.
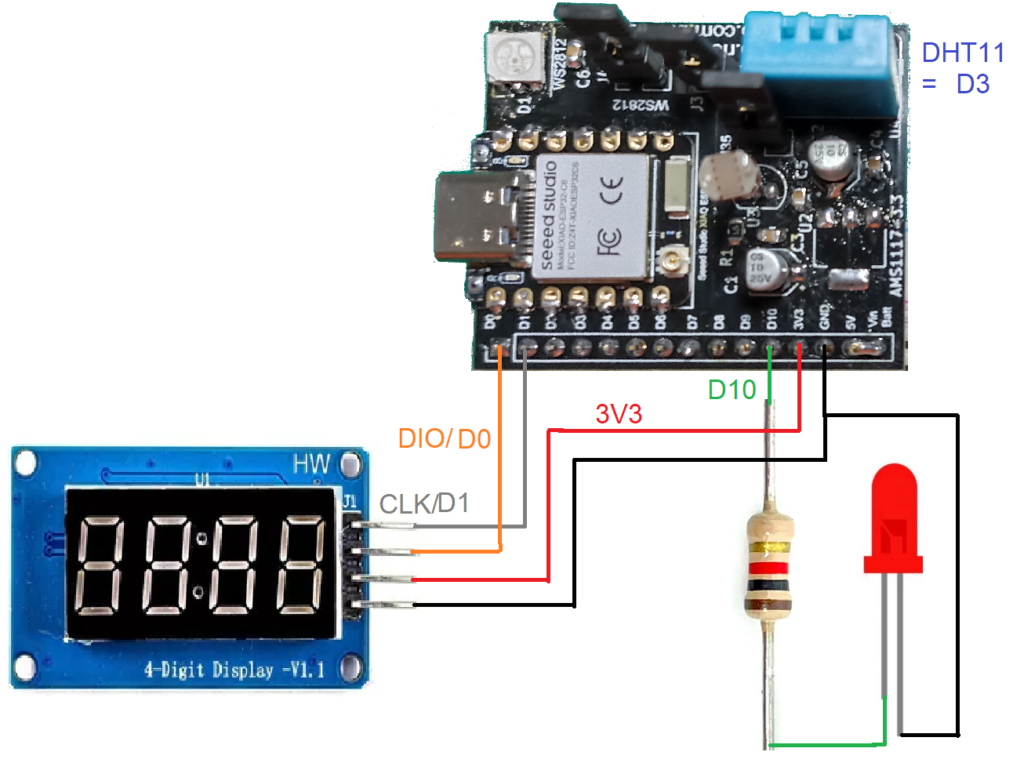
The schematic diagram is below, the DHT11 is connected to pin D3 internally and the LED goes to pin D10. The TM1637 display uses two pins, DIO on D0 and CLK on D1 of the ESP32-C6 board.
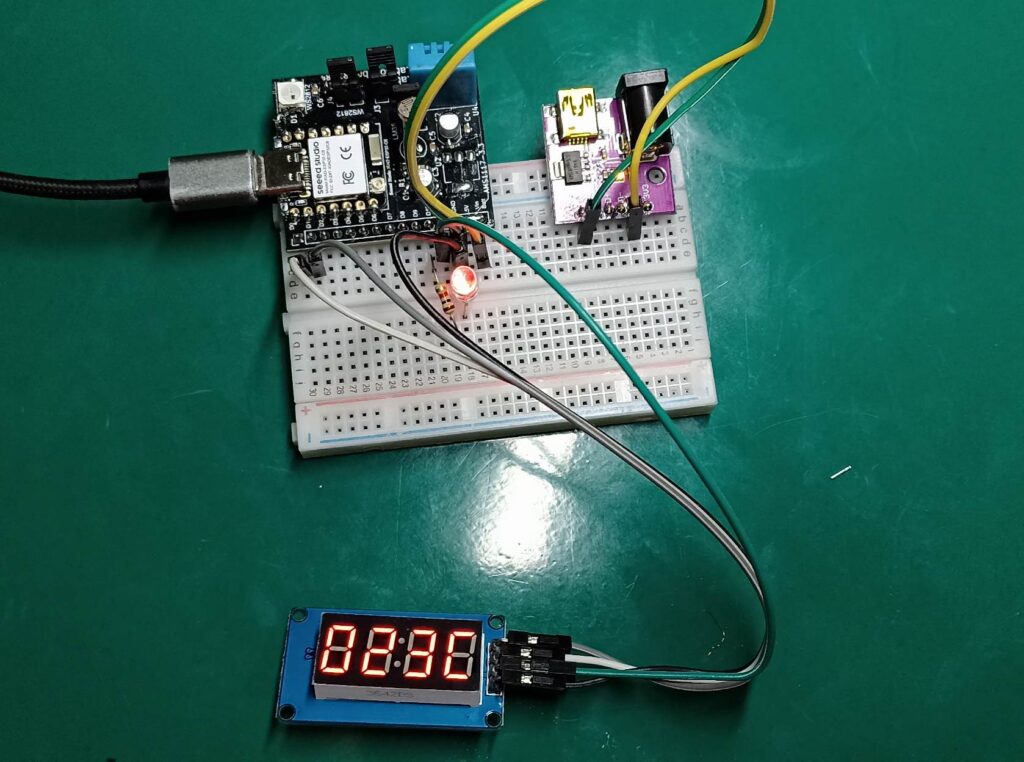
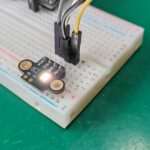
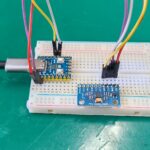
The assembly is simple, my ESP32-C6 dev board fits into the protoboard and takes up almost no space. Note the red LED on the protoboard and the white and gray cables going out to the TM1637 display.
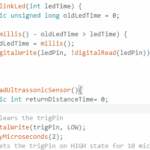
The code is seen below, it is a mix of this and this sketch. Both the DHT11 sensor sketch and the TM1637 display sketch are well known, no secrets. The only interesting part is that I made the code without using delay(), I use time counting with micros() to schedule the tasks.
#include <Arduino.h>
#include <TM1637Display.h>

#include "DHT.h"

#define DHTPIN D3     // Digital pin connected to the DHT sensor

// Uncomment whatever type you're using!
#define DHTTYPE DHT11   // DHT 11
//define DHTTYPE DHT22   // DHT 22  (AM2302), AM2321
//#define DHTTYPE DHT21   // DHT 21 (AM2301)

// Connect pin 1 (on the left) of the sensor to +5V
// NOTE: If using a board with 3.3V logic like an Arduino Due connect pin 1
// to 3.3V instead of 5V!
// Connect pin 2 of the sensor to whatever your DHTPIN is
// Connect pin 3 (on the right) of the sensor to GROUND (if your sensor has 3 pins)
// Connect pin 4 (on the right) of the sensor to GROUND and leave the pin 3 EMPTY (if your sensor has 4 pins)
// Connect a 10K resistor from pin 2 (data) to pin 1 (power) of the sensor

// Initialize DHT sensor.
// Note that older versions of this library took an optional third parameter to
// tweak the timings for faster processors.  This parameter is no longer needed
// as the current DHT reading algorithm adjusts itself to work on faster procs.
DHT dht(DHTPIN, DHTTYPE);

int tempcelsius;

// Module connection pins (Digital Pins)
#define CLK D1
#define DIO D0


const uint8_t cletter[] = {
	SEG_A | SEG_D | SEG_E | SEG_F            //Letter 'C'
	};

TM1637Display display(CLK, DIO);

long currenttime;
long oldtime= 0;
int sweepcounter;
int lastcounter;

void setup() {

  display.clear();
  dht.begin();
  pinMode(D10, OUTPUT);

}

void loop() {

currenttime= micros();
if(currenttime - oldtime >= 100000){
  oldtime= micros();
  sweepcounter++;
  if(sweepcounter - lastcounter == 5){
    lastcounter= sweepcounter;
    digitalWrite(D10, !digitalRead(D10));
  }
  if(sweepcounter == 1){

    display.setBrightness(0x0f);
    if(sweepcounter == 1){
      display.clear();
    }

  }else if(sweepcounter == 50){

    // Read temperature as Celsius (the default)
    float t = dht.readTemperature();
    tempcelsius= int(round(t));
    }


    display.showNumberDecEx(tempcelsius, false, 1, 3);
    display.setSegments(cletter, 1, 3); //Letter 'C'

  }else if(sweepcounter == 70){
    sweepcounter= 0;
    lastcounter= 0;
  }else{

  }
  }
Final words
The ESP32-C6 dev board has all the power of the ESP32, using the internal circuitry of the Xiao line from SeedStudio. This means that it uses few external components, so much so that I added sensors and even an addressable LED to the board.
Implementing a temperature display with the proposed circuit was super easy. Even more so using all the power and ease of the Arduino IDE. Want to buy a TM1637 LED display? use my affiliate link.

Leave a Reply