HW-006 line tracker: Let me talk to you about the HW-006 optical line tracker sensor, a neat little sensor used in line-tracking robots. It is based on the TCRT5000 emitter+detector assembly (datasheet here). Works in the infrared part of the spectrum (so no visible beam).
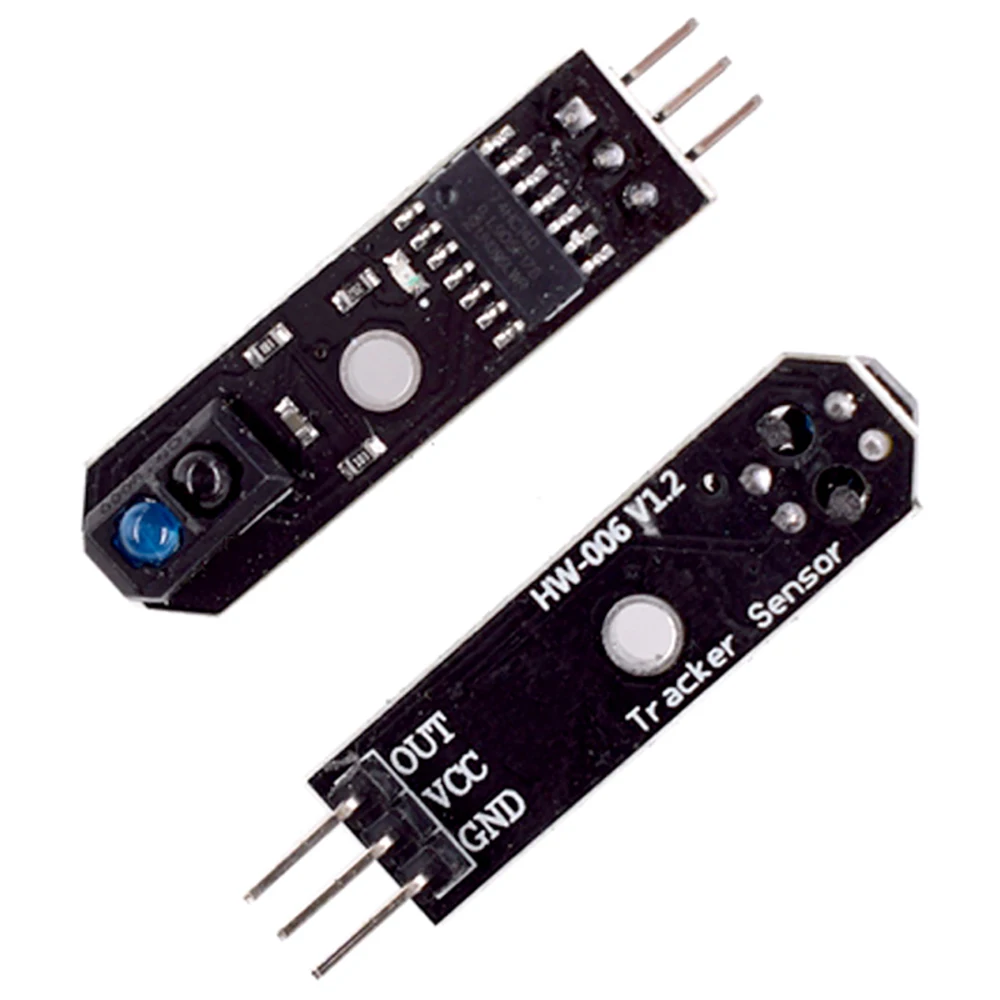
The principle of operation is simple, a beam of infrared light is emitted, bounces back in an object and (more or less of it) is presented at the detector (photodiode or phototransistor). There is a 74HC14D schmitt trigger inverter chip on the HW-006 board, responsible for “cleaning” the sinal. It then presents a clear zero (no detection) or one (detection) to the OUT pin of the circuit board.
According to this source it works both in 3.3V and 5V, consuming around 20mA. Its detection distance is at a maximum of 10mm.
Testing it out
We will not be implementing a test vehicle, instead I will just create a lane of black electric tape over my green mat. The microcontroller used will be my ESP32-C6 dev board, as seen here. What we want is to determine wether the sensor will act (trigger) on the surface change or not.
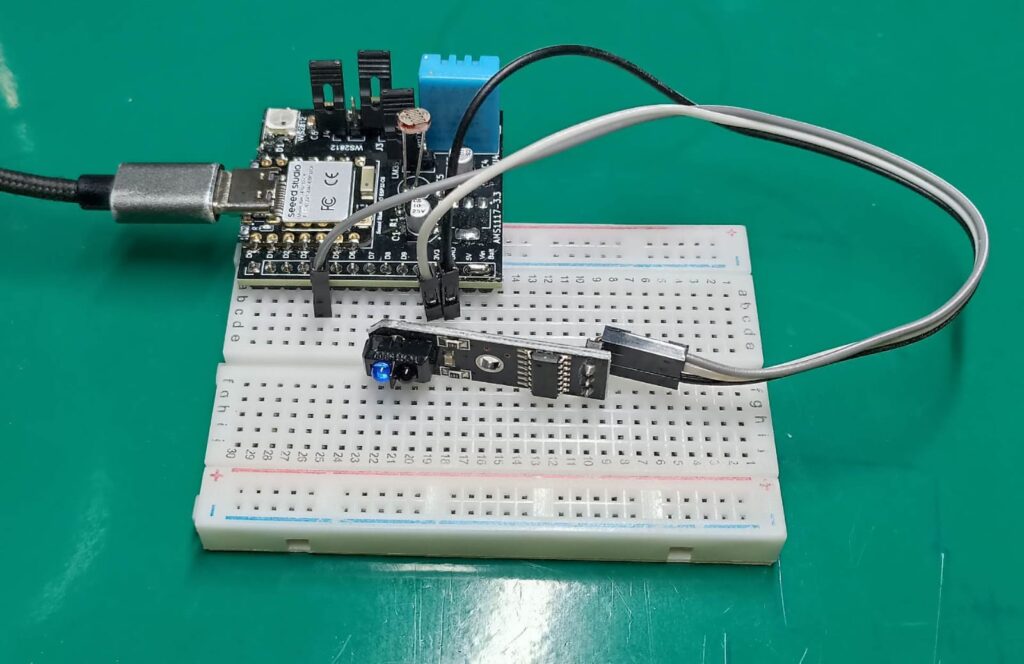
I will be connecting the HW-006 sensor on pin D5 of the ESP32-C6. Its pin D4 has the WS2812b Neopixel. We will be lighting the WS2812b blue with line detection and red without line detection. The complete code is seen below. Notice you have to install the Adafruit Neopixel library as seen here.
#include <Adafruit_NeoPixel.h>
#define D_in D4
#define ledamount 1
Adafruit_NeoPixel pixels(ledamount, D_in);

long currenttime;
long oldtime;

void setup() {
  // put your setup code here, to run once:
  pinMode(D5, INPUT);
  pixels.begin();
}

void loop() {
  // put your main code here, to run repeatedly:
  currenttime= micros();
  if(currenttime - oldtime > 20000){ //only enters the program every 20ms
    oldtime= micros();
    if(digitalRead(D5)){
      pixels.clear();
      pixels.setPixelColor(0, pixels.Color(255, 0, 0)); // detection (color), lights red
      pixels.show();
    }else{
      pixels.clear();
      pixels.setPixelColor(0, pixels.Color(0, 0, 255)); // no detection (black), lights blue
      pixels.show();
    }
  }
}
HW-006 line tracker
In the video above you can see the sketch working with the hardware. Over the line (and away from the table) the neopixel turns blue. Outside the track (and close to the table) the neopixel turns red. You can clearly see the line detection happening, the difference between colors triggering the sensor.
This HW-006 line tracker sensor is simple perfect for your robotics applications. If you want to follow along and buy a couple of these sensors, use my affiliate link here. See you next time.


