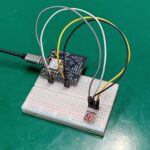
Today we will talk about the TP4056 battery charger, widely used in projects where we apply Lithium-Ion batteries (LiPo/Li-Ion). According to its datasheet, the current it supplies with is 1A, with voltages between 2.9V and 4.2V. Also has a soft start circuit.
When it comes to low cost and low number of components, it is one of the good options that we makers/students/enthusiasts have in our hands. The chip can work in constant current or constant voltage modes. The chip connection diagram with a battery is below.
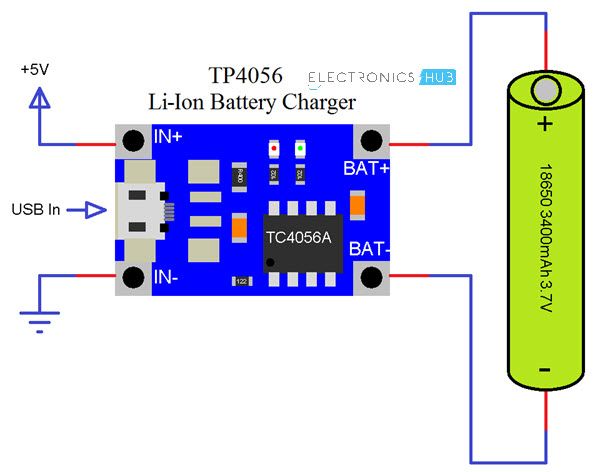
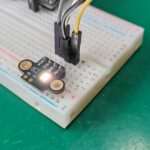
Note that a voltage output point is not indicated. I usually take the “output” directly at the battery terminals, BAT+ and BAT-. This is only possible because the batteries themselves usually have protection circuit against low voltage draining. Power input options are +5V or USB (which is also +5V). There are two LEDs on the board, “charging” and “charge finished”.
Before continuing, let’s learn a little about the energy density of different batteries that we could use in our projects.
Battery chemistries for an Arduino project
- CR2032 Battery: Lithium Manganese Dioxide (LiMnO2): 3V 220mAh (on average), energy 653 mWh
- AAA battery (stick): one electrode uses Zinc and Manganese and the other Potassium or Sodium hydroxide. Nominal voltage of 1.5v and current between 540mAh and 1200mAh, energy 1200 mW/h
- AA battery: its chemistry is zinc, Manganese dioxide and Potassium hydroxide. Its voltage is 1.5V with a current between 400 and 3400 mAh. Energy from 2.55 to 5.10 Wh.
- 9V Battery: May have alkaline, Zinc-Carbon and Lithium chemistry. Nominal voltage of 9V and average current between 550 and 1200 mAh. 500mAh energy.
Note that among the options, alkaline AA batteries have the highest energy capacity. 9V batteries have the lowest capacity. I myself have noticed several times that 9V batteries “can’t handle the pressure” and run dry very quickly.
TP4056 usage
The project where I will use the TP4056 charger and lithium battery is my thermometer with binary display. This is because I implemented the project with a 9V battery, but I used some old rechargeable batteries that run out very quickly, in a matter of 1 hour.
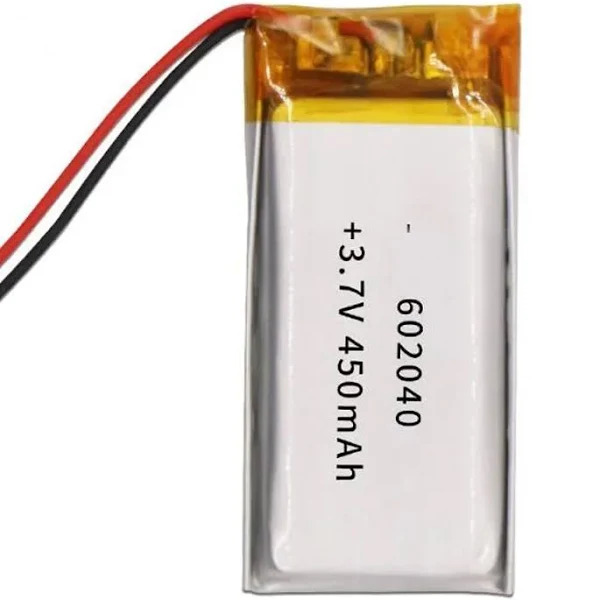
The battery I chose for the project is seen above, 3.7V 450mAh, with 1.67 Wh energy. As I mentioned above, I will take the voltage directly from the battery terminals and connect them to my binary thermometer. This means that I will power the Attiny85 microcontroller directly with 3.2V – 4,2V, which is perfectly possible.
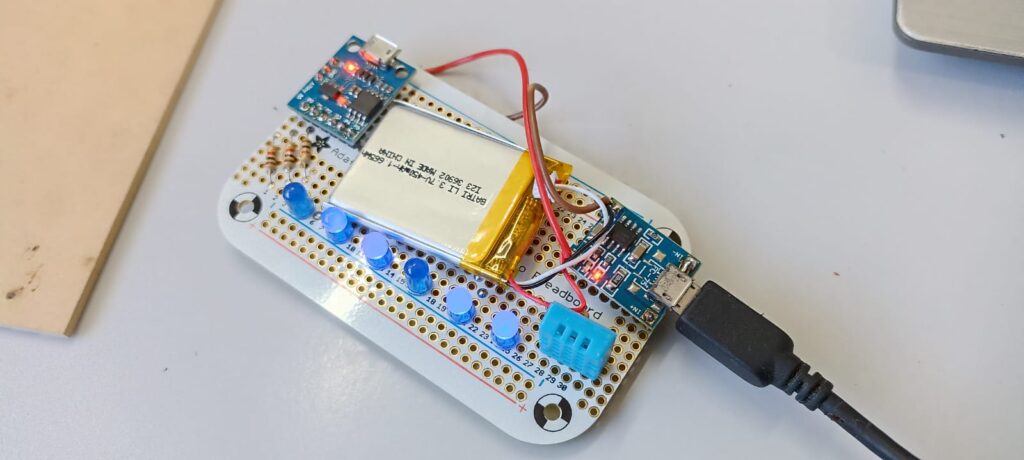
I bought the new battery and let it charge for 1h30. Its durability on the thermometer project was almost 10 hours. This shows how much longer a lithium battery lasts compared to other chemicals, for the same encapsulation size.
Final words
The TP4056 is a small and inexpensive lithium battery charger module. Its charging current goes up to 1A, more than enough for most batteries used in our hobby. I have and use several, it is super reliable and long-lasting.
In the end, if you want to try and buy a TP4056 use my Banggood affiliate link.

Leave a Reply