Let’s talk about the DHT11 temperature sensor with ESP32-S2 Franzininho WiFi. All the code presented here is the same for any Arduino. The DHT11 is a humidity and temperature sensor that works via a “single wire serial interface”.
Inside the sensor there is a resistive humidity measuring element and an NTC thermistor for temperature. It comes pre-calibrated from the factory to measure humidity between 20% and 90% and temperature between 0ºC and 50ºC. The resolution of humidity measurement is unity (1% steps). Temperature is also measured in steps of 1ºC.
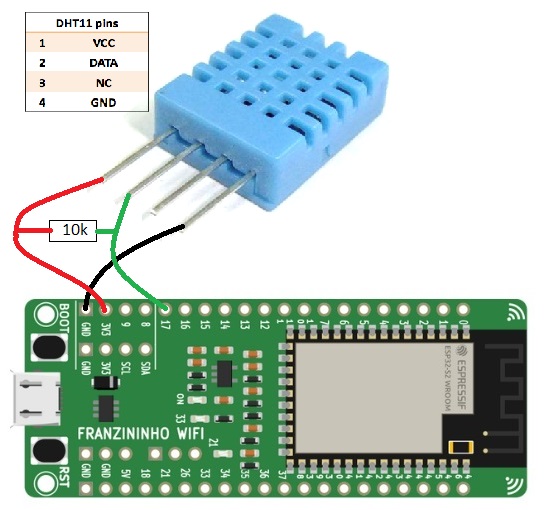
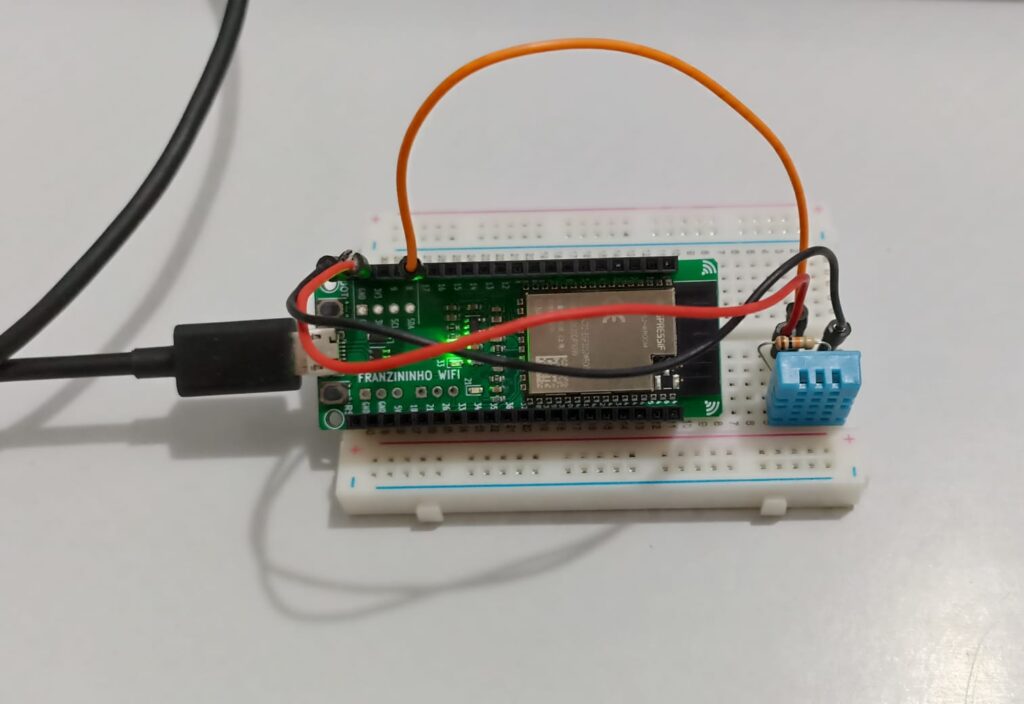
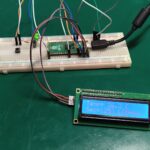
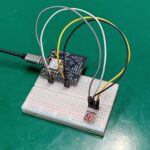
To prepare this tutorial I followed this information. That said, the connection method is through three wires: 3.3V, GND and signal. Therefore, a 10k Ohm pull-up resistor is required between the 3.3V and the signal. See below how to connect.
The necessary library is called “DHT sensor library” from Adafruit, it can be downloaded directly into the Arduino IDE. Click on “Draft > Add library > Manage libraries” and type “DHT sensor”; install the one from Adafruit.
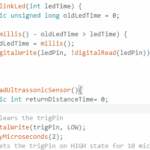
To open a DHT11 test example, go to “File > Examples > DHT sensor library > DHTtester”. See the full sketch below. Note that the only thing I modified was the digital pin where the sensor is connected, I changed it to 17:
#define DHTPIN 17 // Digital pin connected to the DHT sensorAnd the lines below must be exactly as placed, to be able to use DHT11 and not DHT22:
// Uncomment whatever type you're using!
#define DHTTYPE DHT11   // DHT 11
//define DHTTYPE DHT22   // DHT 22  (AM2302), AM2321
//#define DHTTYPE DHT21   // DHT 21 (AM2301)
#include "DHT.h"
#define DHTPIN 17 // Digital pin connected to the DHT sensor
// Feather HUZZAH ESP8266 note: use pins 3, 4, 5, 12, 13 or 14 --
// Pin 15 can work but DHT must be disconnected during program upload.
// Uncomment whatever type you're using!
#define DHTTYPE DHT11 // DHT 11
//define DHTTYPE DHT22 // DHT 22 (AM2302), AM2321
//#define DHTTYPE DHT21 // DHT 21 (AM2301)
// Connect pin 1 (on the left) of the sensor to +5V
// NOTE: If using a board with 3.3V logic like an Arduino Due connect pin 1
// to 3.3V instead of 5V!
// Connect pin 2 of the sensor to whatever your DHTPIN is
// Connect pin 3 (on the right) of the sensor to GROUND (if your sensor has 3 pins)
// Connect pin 4 (on the right) of the sensor to GROUND and leave the pin 3 EMPTY (if your sensor has 4 pins)
// Connect a 10K resistor from pin 2 (data) to pin 1 (power) of the sensor
// Initialize DHT sensor.
// Note that older versions of this library took an optional third parameter to
// tweak the timings for faster processors. This parameter is no longer needed
// as the current DHT reading algorithm adjusts itself to work on faster procs.
DHT dht(DHTPIN, DHTTYPE);
void setup() {
Serial.begin(115200);
Serial.println(F("DHTxx test!"));
dht.begin();
}
void loop() {
// Wait a few seconds between measurements.
delay(2000);
// Reading temperature or humidity takes about 250 milliseconds!
// Sensor readings may also be up to 2 seconds 'old' (its a very slow sensor)
float h = dht.readHumidity();
// Read temperature as Celsius (the default)
float t = dht.readTemperature();
// Read temperature as Fahrenheit (isFahrenheit = true)
float f = dht.readTemperature(true);
// Check if any reads failed and exit early (to try again).
if (isnan(h) || isnan(t) || isnan(f)) {
Serial.println(F("Failed to read from DHT sensor!"));
return;
}
// Compute heat index in Fahrenheit (the default)
float hif = dht.computeHeatIndex(f, h);
// Compute heat index in Celsius (isFahreheit = false)
float hic = dht.computeHeatIndex(t, h, false);
Serial.print(F("Humidity: "));
Serial.print(h);
Serial.print(F("% Temperature: "));
Serial.print(t);
Serial.print(F("°C "));
Serial.print(f);
Serial.print(F("°F Heat index: "));
Serial.print(hic);
Serial.print(F("°C "));
Serial.print(hif);
Serial.println(F("°F"));
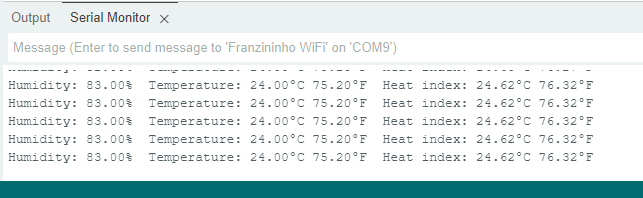
}The code above will provide the output below, on the serial monitor (accessible either from the bottom of the screen or in “Tools > Serial Monitor”). Then it shows humidity, temperature in ºF, in ºC and “heat index”, which is the thermal sensation.
What else matters
The DHT11 sensor is very cheap, easily found (buy here) and easy to use. This makes it widely used in weather station projects with Arduino. It’s a slow sensor, but when it comes to temperature and humidity, speed doesn’t matter much, thermal inertias are natural.
Want to get to know more temperature sensors? see about SHT21.


Leave a Reply